
First-time setup
Check that your ERA is genuine
On a new device this check runs once, right after the welcome screen. The device and the app exchange two QR codes: the app asks a question, the secure chip inside the ERA signs the answer, and the app verifies the signature.
Steps
Part 1: Install the app
On WELCOME TO ERA WALLET, tap START.
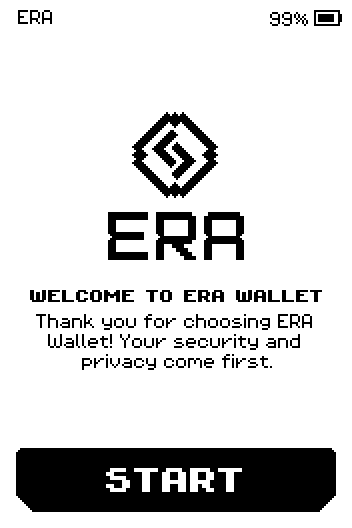
ERA: Welcome. On COMPANION APP, tap IOS or ANDROID to match your phone.
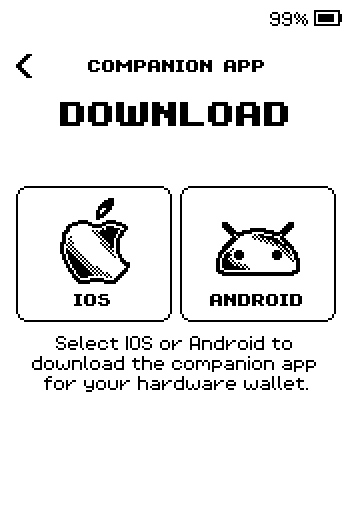
ERA: Companion app, choose platform. Point your phone camera at the QR code on the ERA screen. The app's store page opens on the phone.
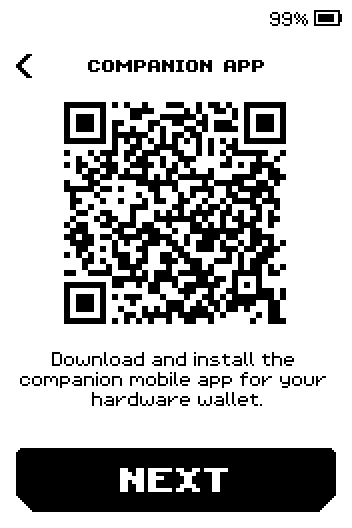
ERA: Companion app store link. On the phone, install the app ("ERA Wallet Companion" on the App Store and on Google Play). Source: era-wallet.com
On the ERA, tap NEXT.
Part 2: Run the check
On "Let's start the authenticity check", tap VERIFY.
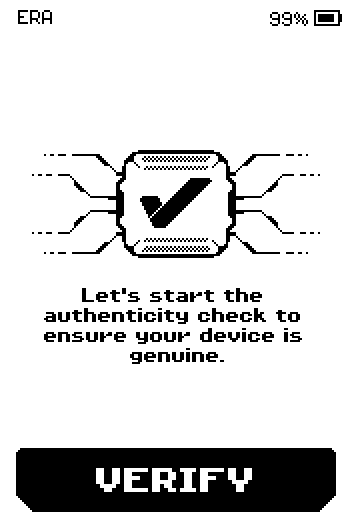
ERA: Start the authenticity check. In the app, on Verify your ERA Wallet, tap Start verification. The app opens this page by itself during its first setup; later it is under Settings > Authenticity Check.
9:41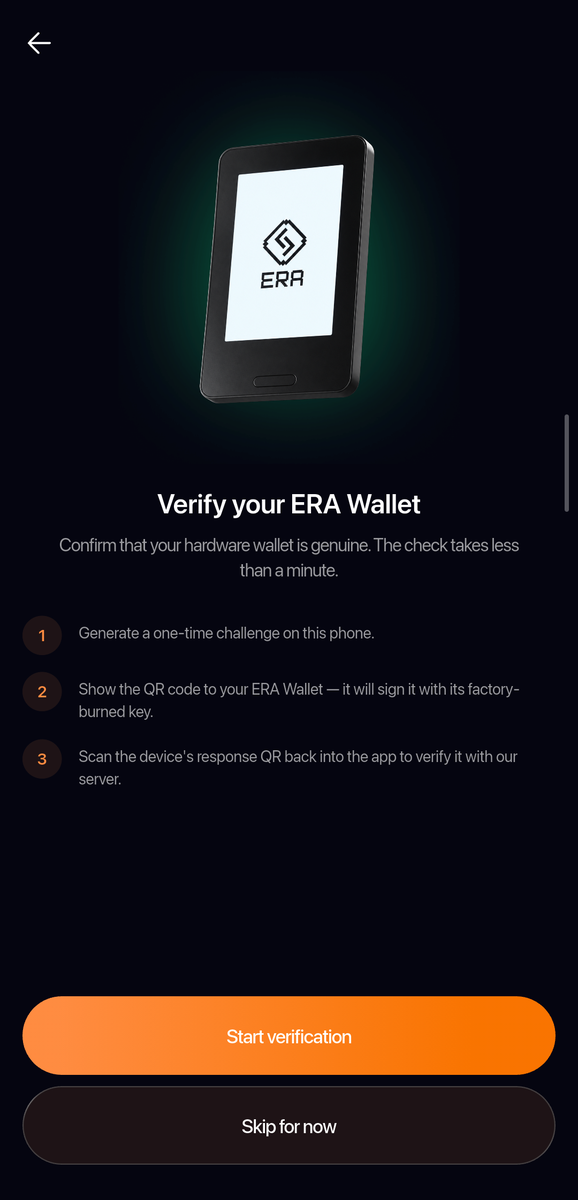
Phone: Verify your ERA Wallet. The app shows Show this QR to your wallet. Leave it on screen.
9:41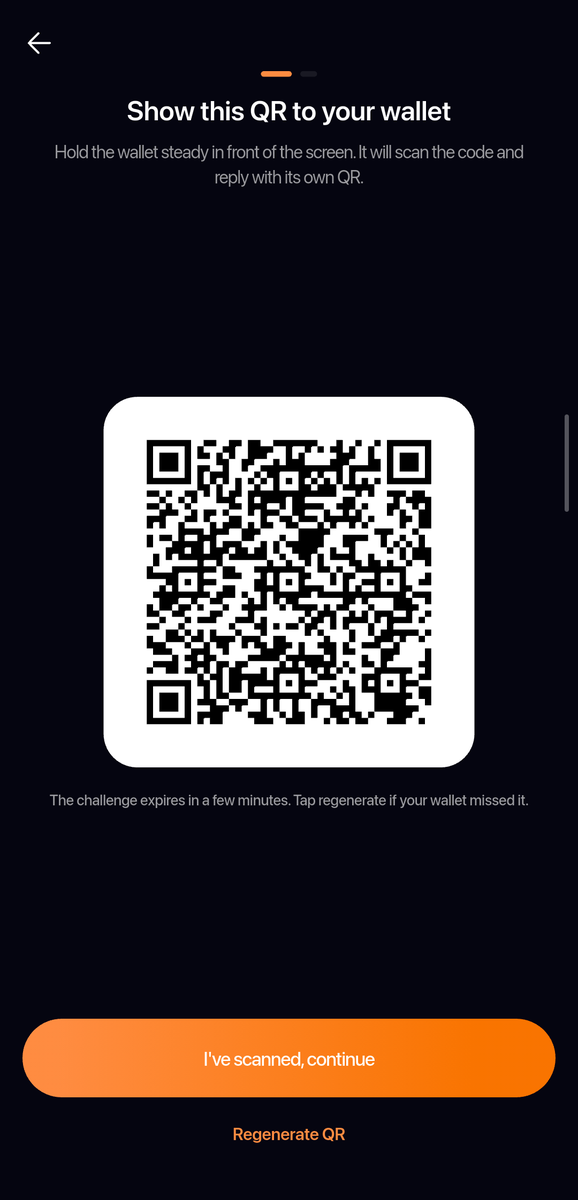
Phone: the challenge QR code for the ERA camera. On the ERA, tap NEXT. The camera opens with CAMERA ON in the header.
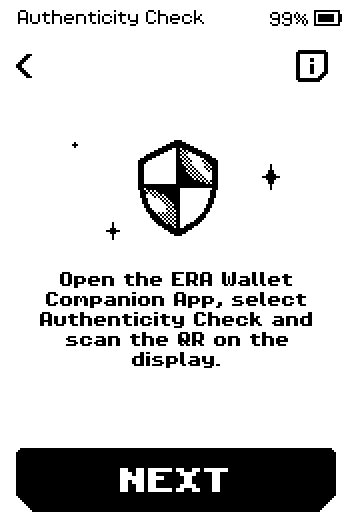
ERA: Authenticity Check instructions. Point the ERA camera at the phone screen. The device vibrates when it has read the code.
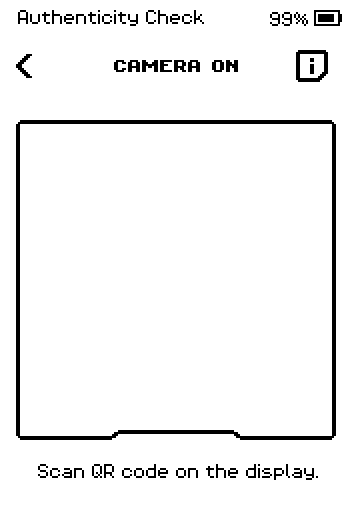
ERA: Camera on. In the app, tap I've scanned, continue. The phone camera opens in Scan QR; show the ERA screen to it. The ERA shows its answer QR code under AUTHENTICITY CHECK. Source: Help Center
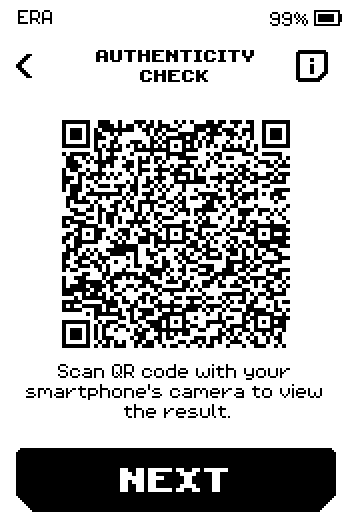
ERA: Authenticity Check answer. The app shows Authenticity check success. Tap Great in the app, then NEXT on the ERA. The device is now activated and moves on to DEVICE PASSWORD.
9:41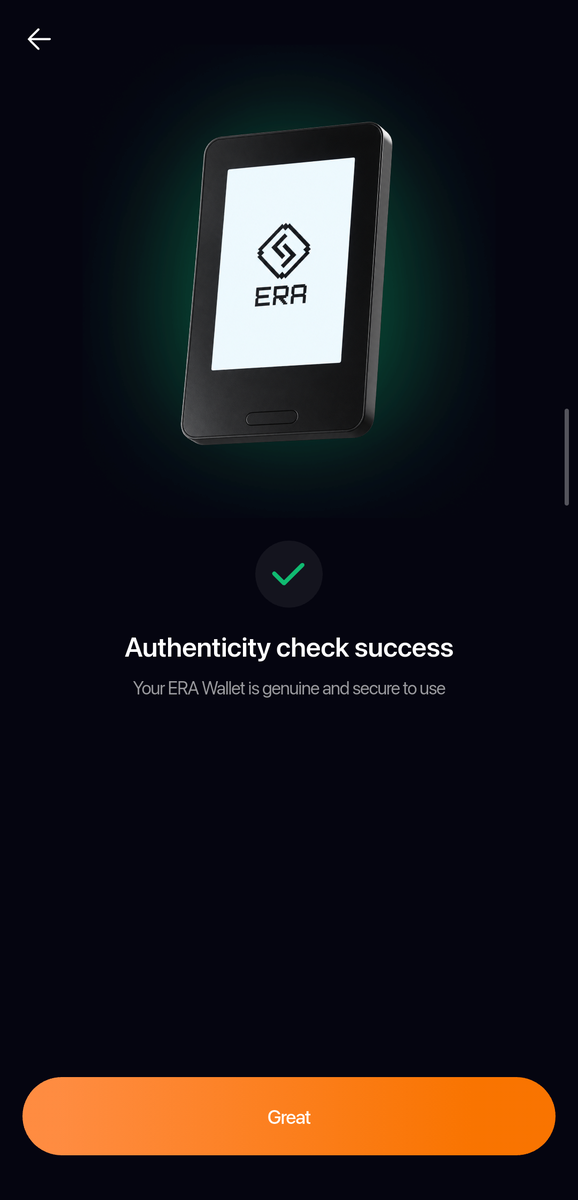
Phone: Authenticity check success — the device is genuine.
Done
The app shows that your ERA is genuine, and the ERA shows DEVICE PASSWORD. Continue with Set your device PIN.
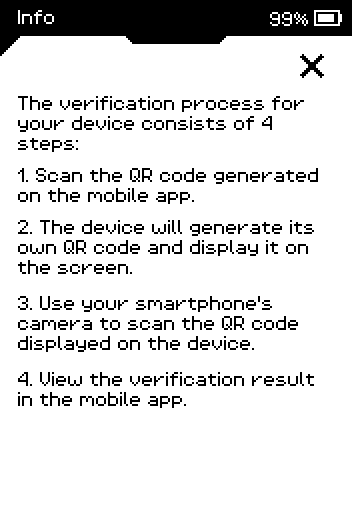
What the four steps are, in the device's own words
Tap the info icon in the header of any check screen to read this summary on the device.
Trouble?
The ERA shows INVALID REQUEST → the code was not an authenticity request. Tap REPEAT, open Authenticity Check in the app again and rescan.
The camera does not open and the device asks you to disconnect the charging pad → take the ERA off the pad; the camera is disabled while charging.
The ERA does not read the phone screen → raise the phone brightness, hold the phone 15–20 cm from the camera and keep it still.
The phone does not read the ERA screen → tap the ERA screen to switch on its front light, and add room light. Source: Help Center
The app says the device is not genuine → run the check again. If it fails two or three times in a row, do not enter a PIN or create a wallet; contact ERA support (support@hwlt.io or Telegram @ERAwlt_support_bot) with the serial number shown in the app. Source: era-wallet.com, Help Center