
First-time setup
Unbox and charge your ERA
This is the first page of the first-time setup. It takes you from the sealed box to the first screen the device shows.
What is in the box
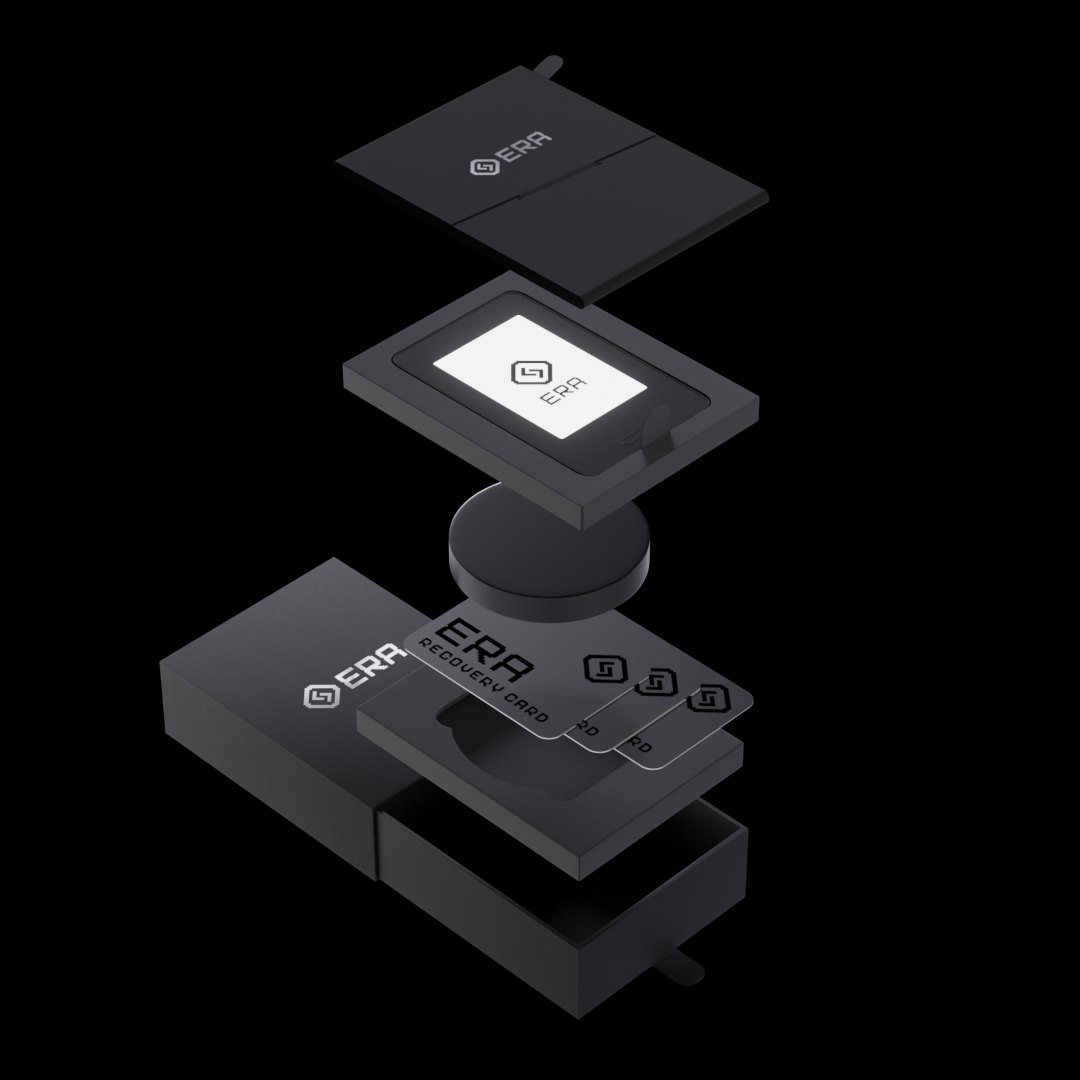
ERA hardware wallet (e-ink touch screen with front light, camera on the back, one hardware button under the screen; bank-card size, 54 × 87 × 5.5 mm, 45 g; IP67 water and dust resistant) Source: era-wallet.com
Wireless charging pad (magnetic, plugs into any USB power adapter — adapter not included). Charging is wireless only; the device has no cable port. Source: era-wallet.com, Help Center
3 ERA Recovery Cards (NFC backup cards) Source: era-wallet.com
Paper Recovery sheet
Quick-start leaflet
Image coming soon — Photo — ERA back view showing the small camera lens near the top edgePhoto: Back — the camera lens is near the top edge.
Steps
Press and hold the hardware button for 5 seconds. The screen wakes up and tells you what to do next; on a new device it shows PRESS TO TURN ON.
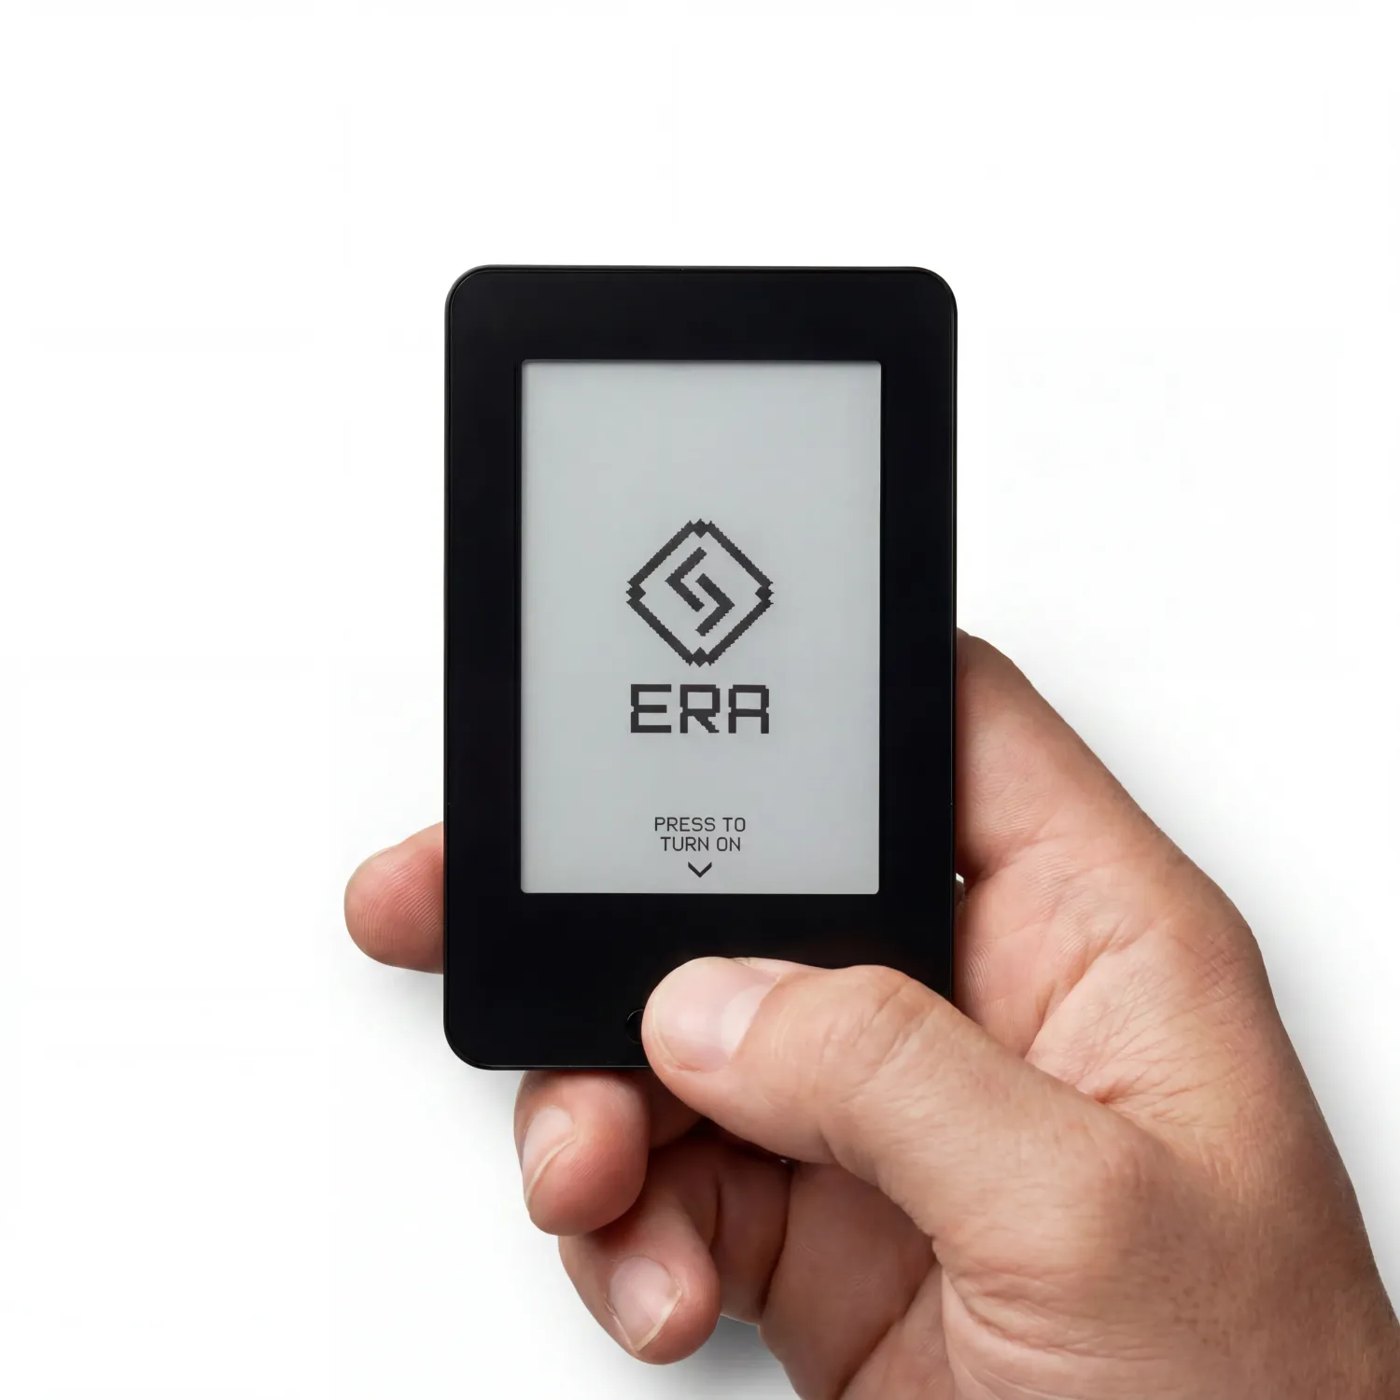
Photo: Press and hold the button under the screen.
The screen says "Place the device on the charging pad to turn it on"
Devices shipped with the older firmware wake up on the charging pad instead of the button. Put the ERA on the pad, screen up, with the pad connected to a USB power adapter; it switches on by itself. Whatever your device shows, the screen tells you which of the two to do. Source: Help Center
Note: The firmware update in the next step refuses to start below 40 %, and a full battery carries you through the whole setup.
Charge the ERA fully before the setup: put it on the charging pad, screen up, and connect the pad to a USB power adapter. Source: Help Center
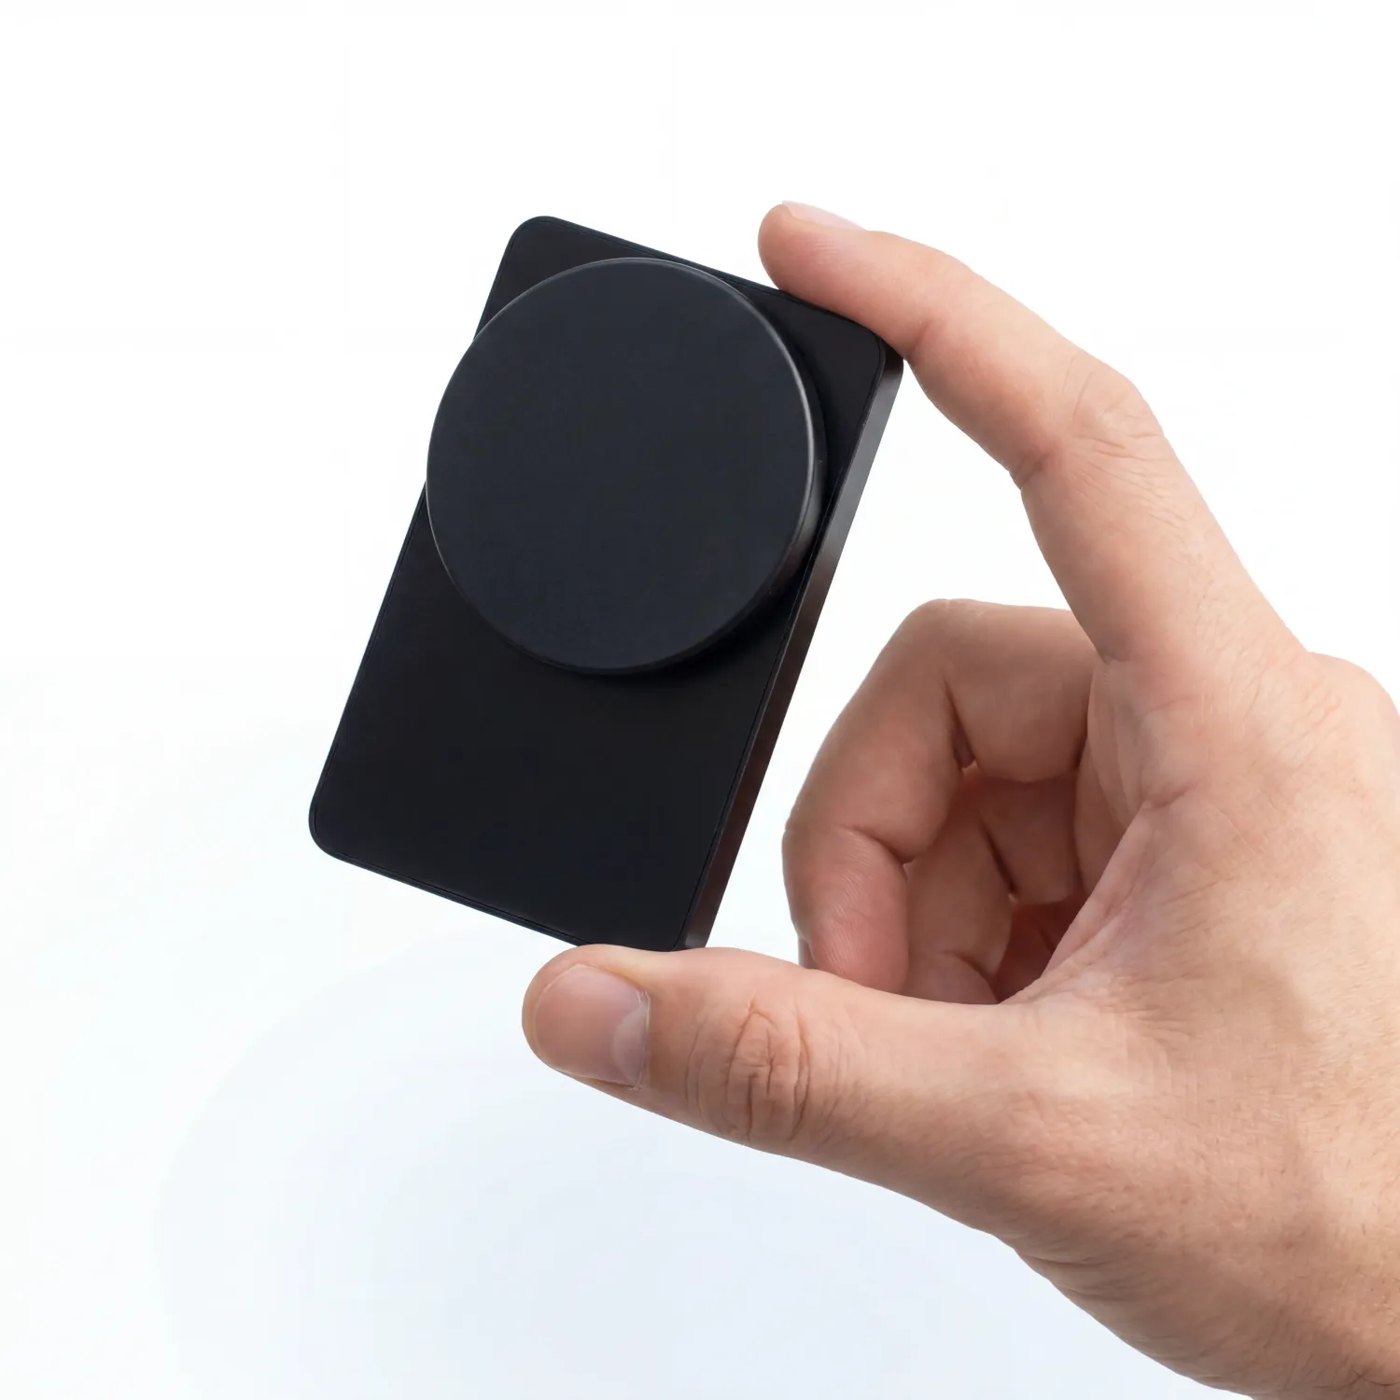
Photo: The charging pad clips magnetically to the back of the ERA; the USB-C cable plugs into the pad. The screen shows the battery level and CHARGING. We strongly advise leaving the ERA on the pad until it reads 100%; this also confirms that the pad and the battery work.
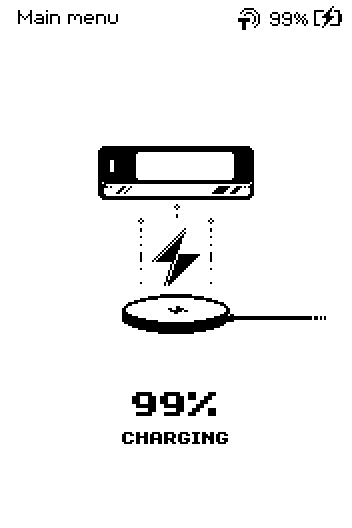
ERA: Charging. Take the ERA off the pad. The camera does not work while the device sits on the pad, and the setup uses the camera. The device shows CHECK FOR UPDATES; continue with the next step, Update the firmware. Source: Help Center
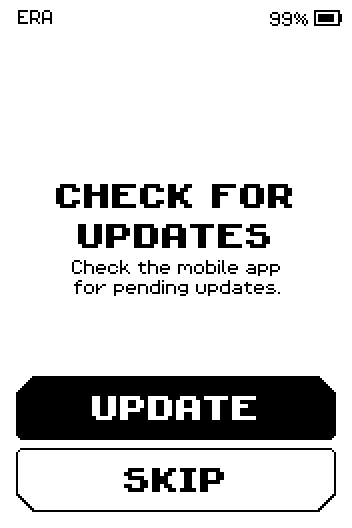
ERA: Check for updates.
Done
Your ERA is charged, switched on and shows CHECK FOR UPDATES.
Using the hardware button
Short press while the device is unlocked: locks the screen. The device shows PRESS TO UNLOCK; press again to get the PIN screen.
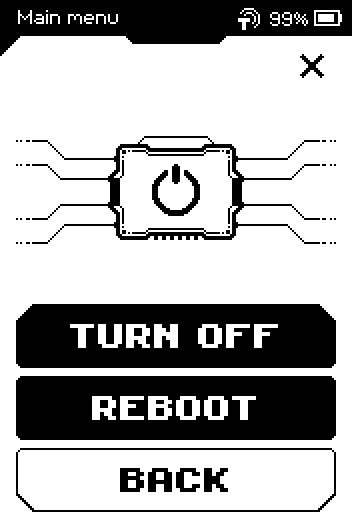
Press and hold: opens the power menu with TURN OFF, REBOOT and BACK.
Note: While the ERA sits on the charging pad, the hardware button does nothing. Tap the touchscreen instead; take the device off the pad when you need the button.
Trouble?
The screen stays blank after pressing the button → hold the button for a full 5 seconds. If nothing happens, put the ERA on the powered charging pad: older firmware wakes up on the pad, and an empty battery needs about 10 minutes of charge before the screen comes on. Source: Help Center
The device shows LOW BATTERY → charge it before you continue; the update and the wallet setup need charge.
The e-ink screen looks faded or shows a ghost of the last screen → this is normal for e-ink; the next full refresh clears it.
Related
Update the firmware — the next step