
Linking
Link Sparrow
Sparrow is a desktop app, so the ERA skips the app-store page and goes straight to the instructions.
Steps
Part 1: On the ERA
On the wallet screen, tap the settings icon (sliders) > Link. See Open the Link menu.
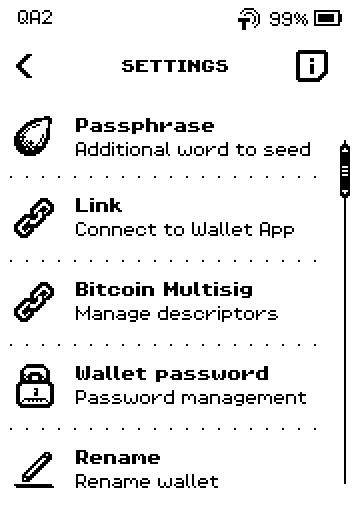
ERA: Wallet settings. On the wallet list, swipe up to the second page and tap Sparrow.
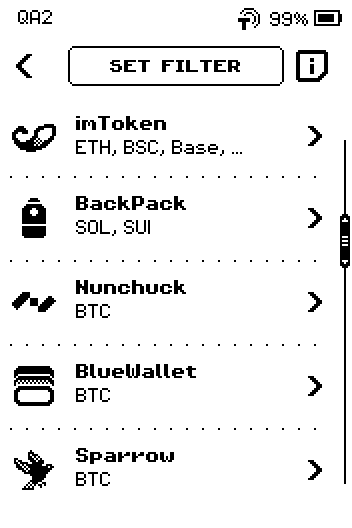
ERA: Wallet app list. On CONNECT Sparrow, tap SHOW QR.
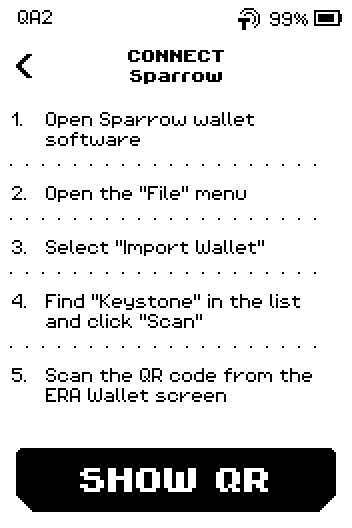
ERA: Connect Sparrow. QR FOR LINK appears. Leave it on screen.
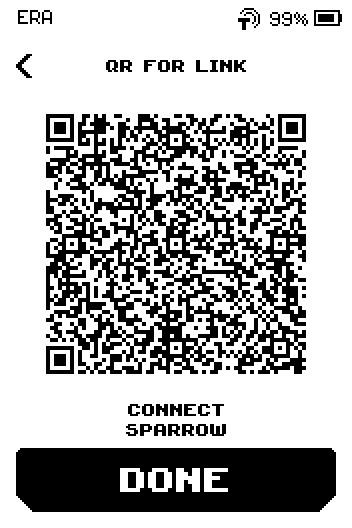
ERA: QR for link.
Part 2: In Sparrow
The device shows these steps; they are repeated here.
Open Sparrow, then open File > Import Wallet.
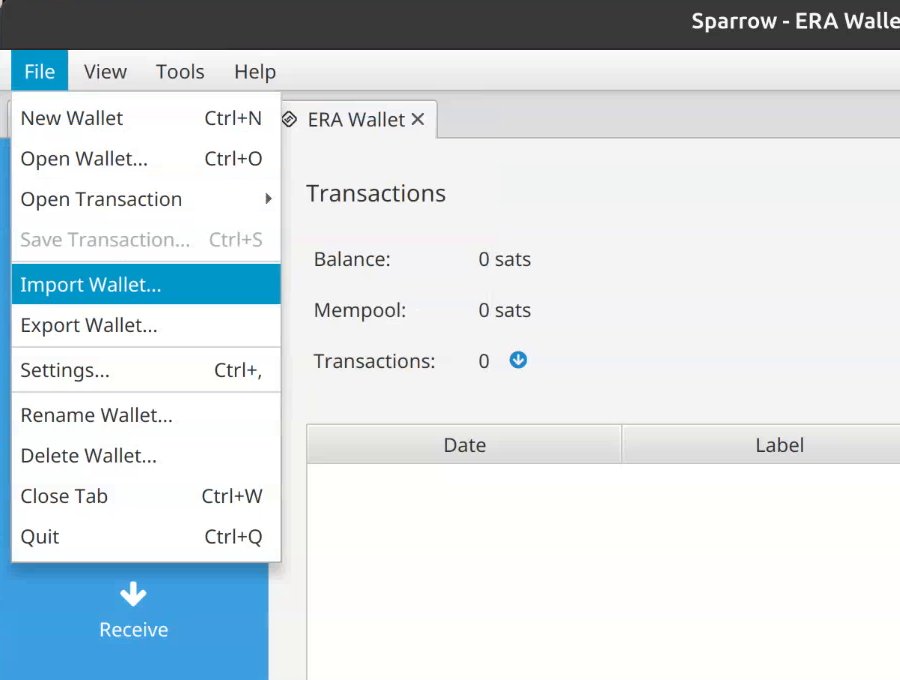
Desktop: Sparrow File menu. Find ERA Wallet in the list and choose Scan. Sparrow opens the webcam.
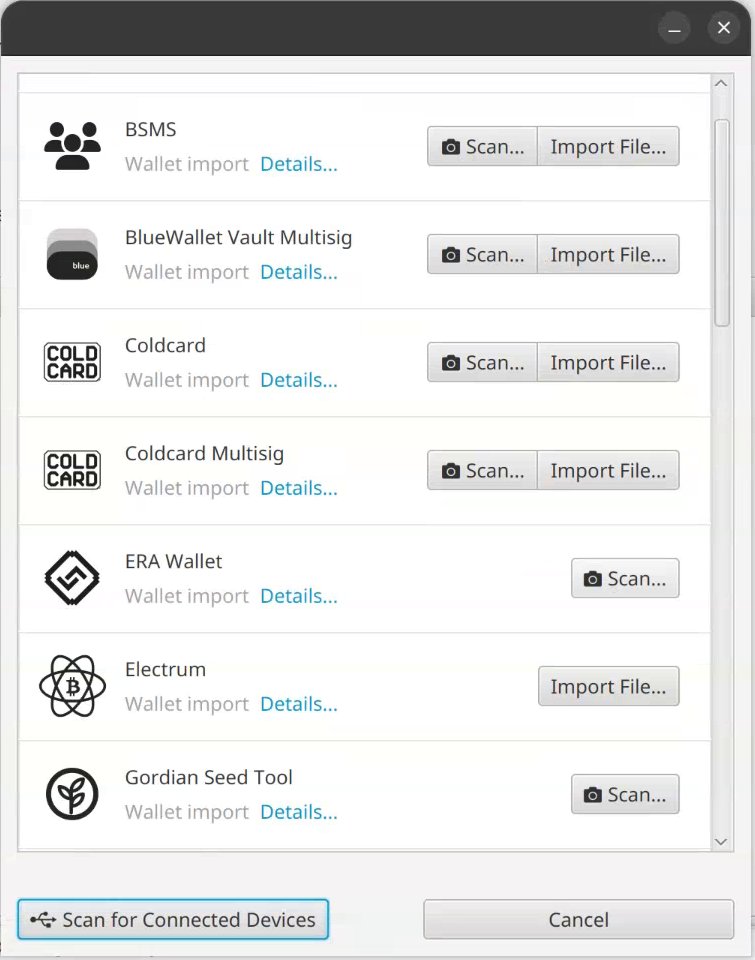
Desktop: Import wallet. Show the ERA screen to the webcam and hold still until the scanner window closes.
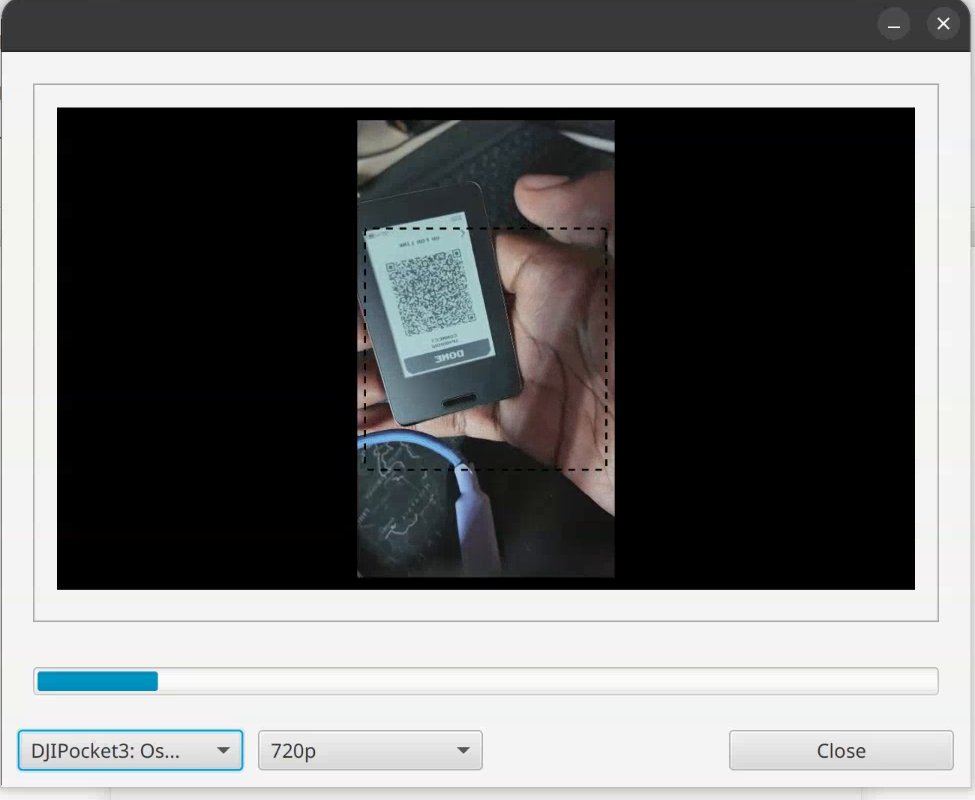
Desktop: Sparrow scanning the ERA through the webcam. Choose the address type under Type (Native Segwit by default) and choose Import.
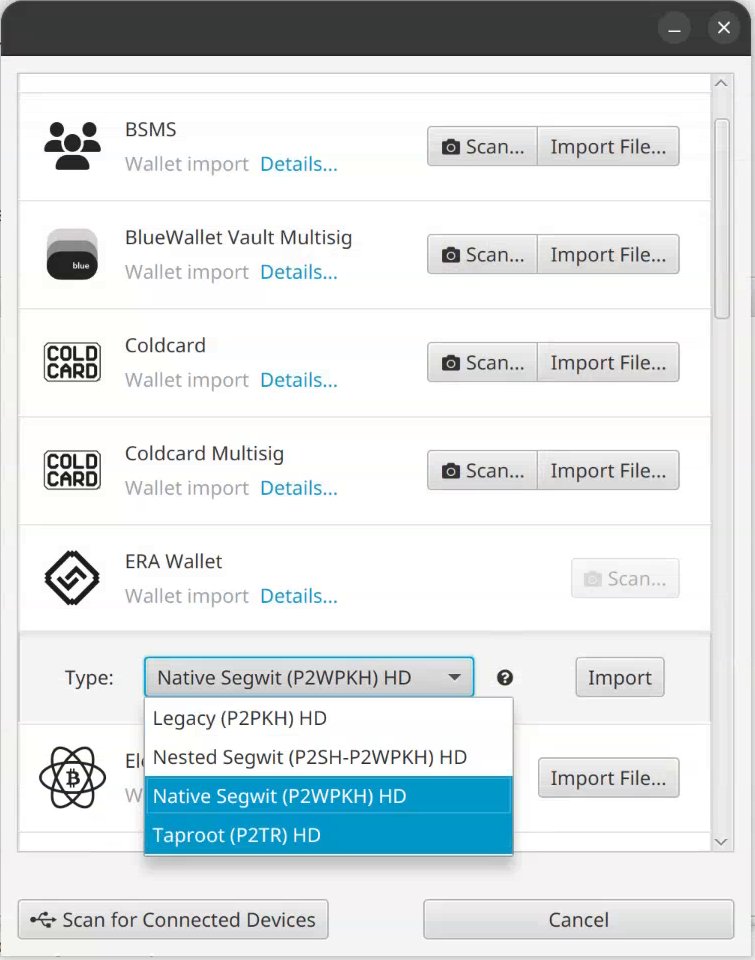
Desktop: Choose the address type. Enter a name for the wallet and choose Create Wallet. Set a password, or choose No Password.
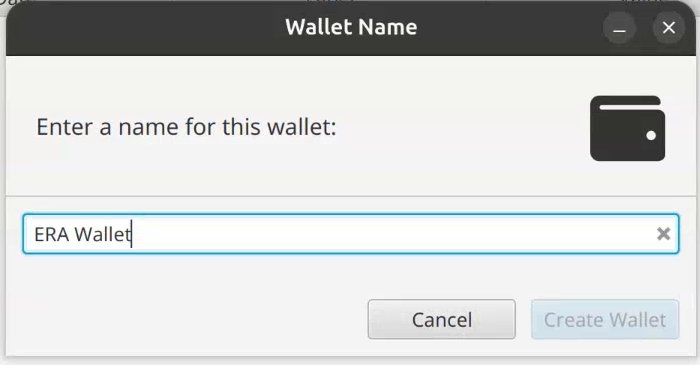
Desktop: Name the wallet. On the ERA, tap DONE. The device returns to the wallet SETTINGS.
Note: The ERA Wallet row exists in Sparrow 2.5.3 and newer. On an older Sparrow, use the Keystone row instead (as the ERA screen says): after the scan, check the Script Type in the wallet settings and choose Apply.
Done
Sparrow shows a new wallet whose keystore is the ERA, and the ERA is back on SETTINGS.
Trouble?
Sparrow's scanner never closes → move the ERA closer (10–15 cm) and avoid glare on the screen; see Linking problems.
The first receive address in Sparrow differs from the ERA DEPOSIT address → another address type was chosen under Type. Import again with the type that matches; see Supported chains.