
Wallets
Create a wallet in Expert mode
Expert mode gives you every choice the device offers: how the randomness is collected, which backup you make first, and (for paper) whether the seed phrase has 12 or 24 words. This guide follows the ERA Recovery Card path; the paper path is in a collapsed block.
Steps
Part 1: Generate the keys
Tap CREATE (on a new device) or ADD WALLET > CREATE (see Add another wallet).
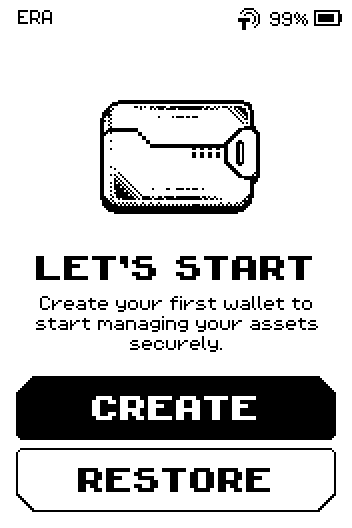
Let's start screen with CREATE and RESTORE buttons.
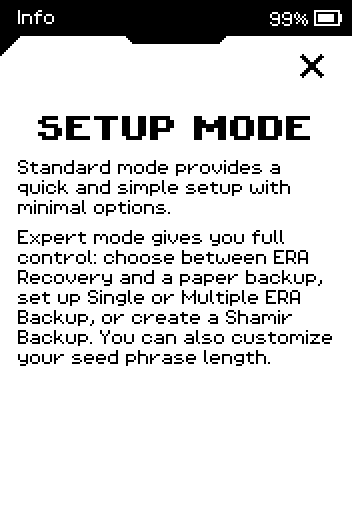
Note: Tap i in the header of SETUP MODE to read the device's own description of both modes; X closes it. Standard makes a 24-word wallet and offers the ERA card first; Expert lets you choose everything.
On SETUP MODE, tap EXPERT.
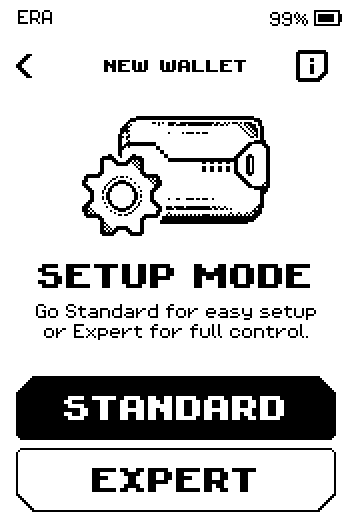
Setup mode screen with STANDARD and EXPERT buttons. Read the three steps, then tap START.
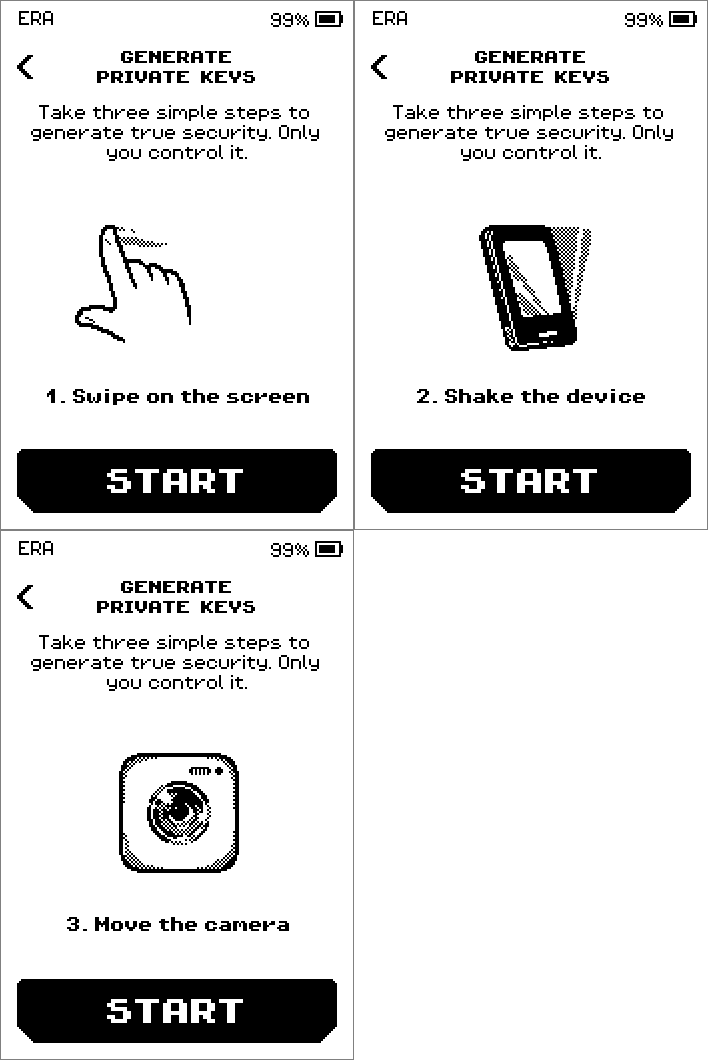
Generate private keys intro: swipe, shake, move the camera.
Note: In Expert mode the keys are built from five sources of randomness: the two hardware random number generators inside the device — one in the main chip, one in the secure element — plus three that come from you in the next steps: your finger movements on the screen, the shaking picked up by the motion sensor, and what the camera sees. Your three are added to the built-in two, never used instead of them. The device takes 32 bytes from each source and mixes all five through a one-way hash, so a weak source cannot weaken the result. How the five are blended is explained in Randomness you don't have to trust: how ERA generates your seed phrase.
Entropy is randomness: the device mixes what you do in the next three steps into the secret that becomes your wallet, so nobody can predict it.
Swipe your finger around the box until the progress bar fills (about 5 seconds).
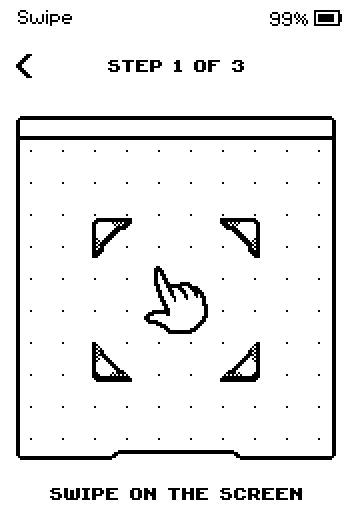
Step 1 of 3: swipe on the screen, with a progress bar. Shake the device until its bar fills.
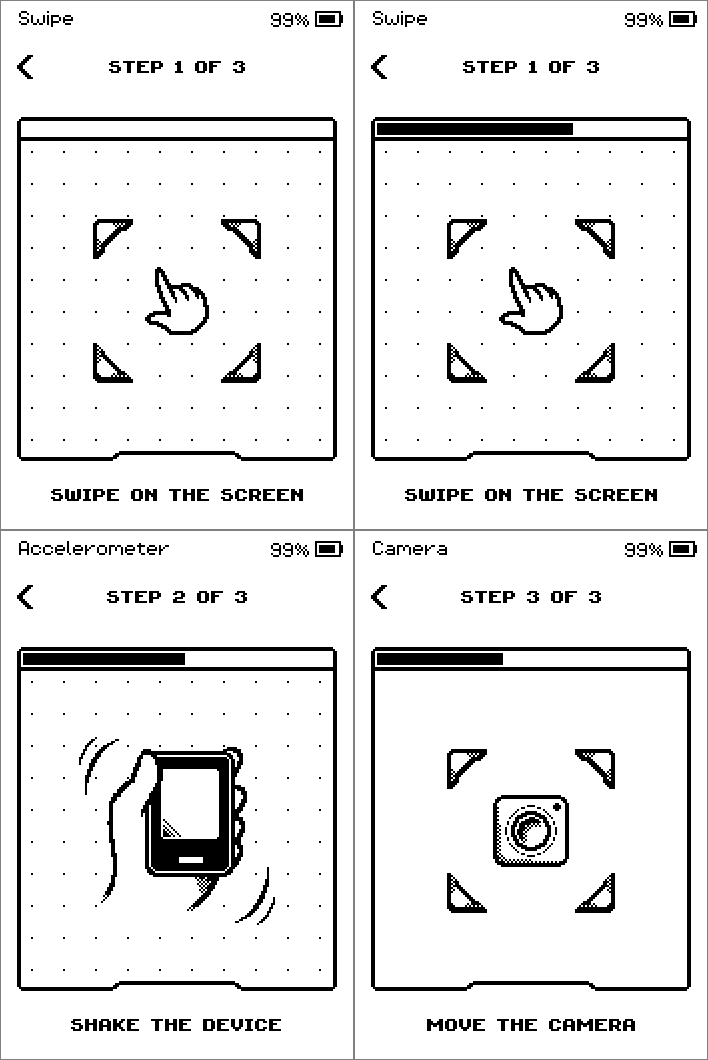
Progress bars for the swipe, shake and camera steps. Move the device so the camera sees changing scenes, until the last bar fills.
On SUCCESS, tap NEXT.
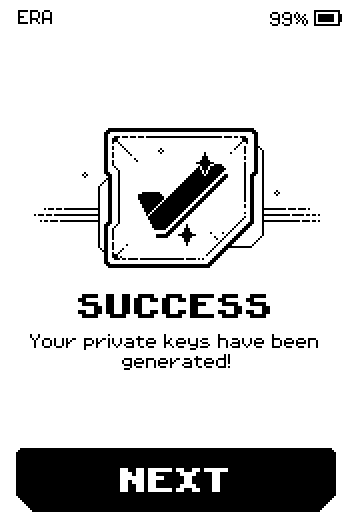
Success: your private keys have been generated.
Part 2: Back up to the ERA Recovery Card
Why the ERA Recovery Card
Nothing to write down: the backup goes onto the card's secure chip, encrypted and locked with a PIN you choose. Anyone who finds the card cannot read it.
Restoring is a tap, not 24 typed words: hold the card to the device and enter the card PIN.
Three cards are in the box, and paper stays available as a second backup. Source: era-wallet.com
See Choose a backup method for the full list.
On BACKUP TYPE, tap ERA CARD. The card backup always uses 24 words.
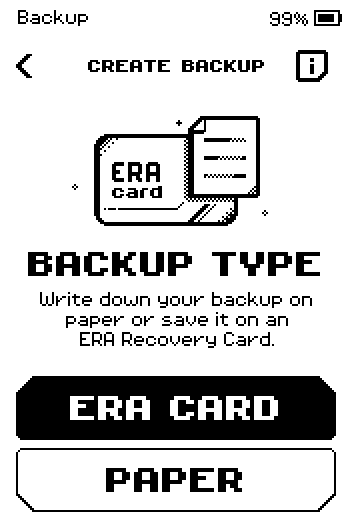
Backup type screen with ERA CARD and PAPER buttons. On BACKUP SETUP, tap SINGLE.
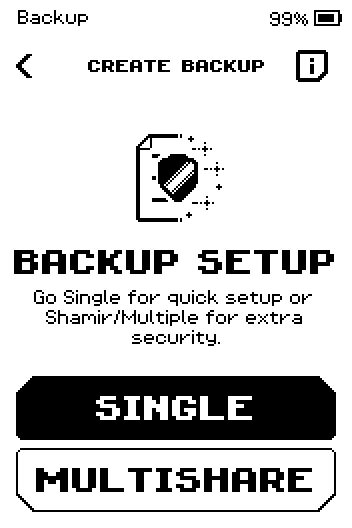
Backup setup screen with SINGLE and MULTISHARE buttons.
Want the backup split over several cards?
MULTISHARE splits the backup into shares and writes one card per share; you choose how many cards are needed to restore. See the multishare block in Back up to an ERA Recovery Card and Create a Shamir backup.
On SET PIN, tap SET PIN.
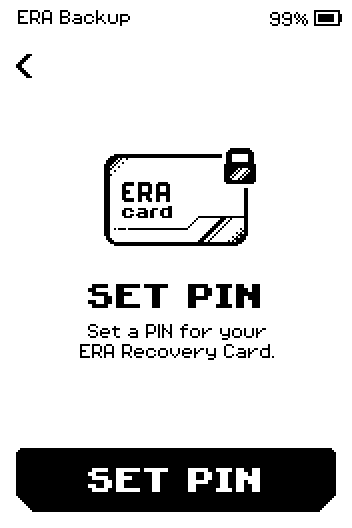
Set PIN screen: set a PIN for your ERA Recovery Card, with a SET PIN button. On CREATE PINCODE, enter a card PIN of 4 to 8 digits, then tap OK. This PIN is separate from the device PIN; you need it to restore from the card, and 16 wrong entries block the card for good.
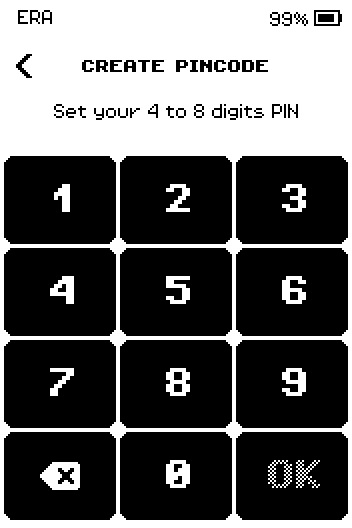
Create pincode keypad: set your 4 to 8 digits PIN. On REPEAT PINCODE, enter the same digits and tap OK.
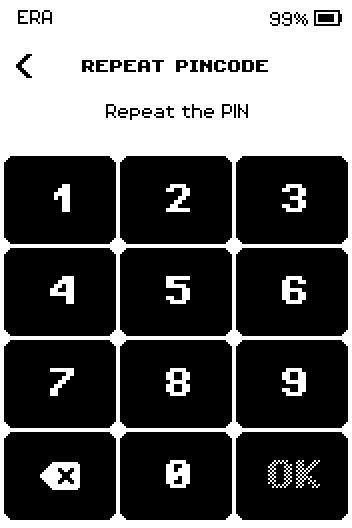
Repeat pincode keypad with the text Repeat the PIN. Hold the card flat against the upper back of the device until the bar fills. The header reads READ CARD, then SAVE THE BACKUP.
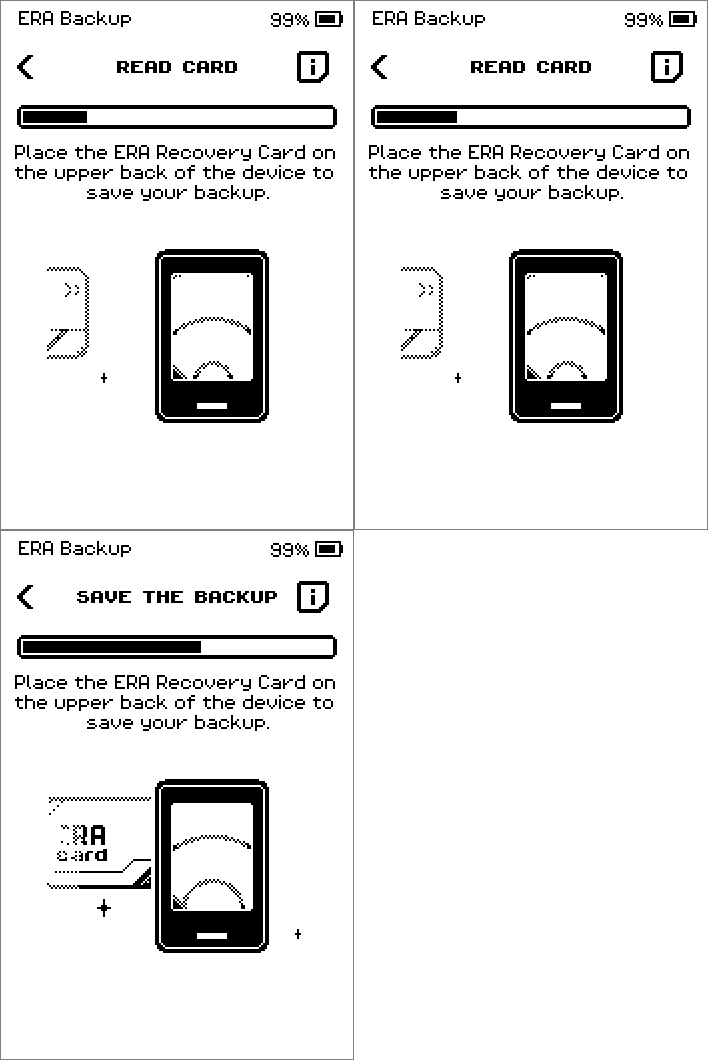
Read card, then Save the backup: place the ERA Recovery Card on the upper back of the device, with a progress bar. On BACKUP SAVED!, tap NEXT. To write a copy to a second card from the box, tap ONE MORE first.
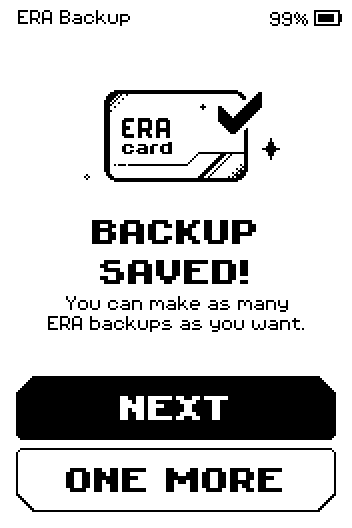
Backup saved screen: you can make as many ERA backups as you want, with NEXT and ONE MORE buttons. On PAPER BACKUP, tap SKIP. The card is your backup; the words on paper are an optional extra.
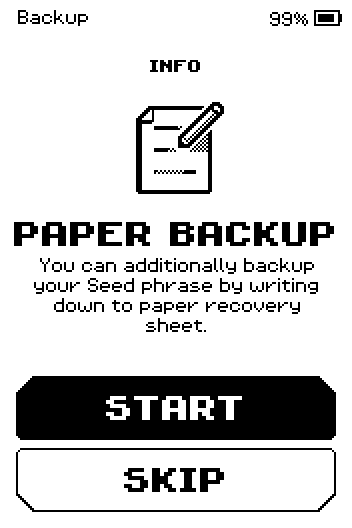
Paper backup screen: you can additionally back up your seed phrase on the paper recovery sheet, with START and SKIP buttons.
Want the words on paper as well?
Tap START instead of SKIP. The screens are the ones in the block "No ERA Recovery Card at hand? Back up on paper", from ATTENTION! to the word check; afterwards the device opens CREATE NAME and you continue with Part 3.
No ERA Recovery Card at hand? Back up on paper
Take pen and paper. The card is offered again as an optional second backup at the end of this block, and you can write one at any time from the wallet's settings — see Back up to an ERA Recovery Card.
Choose the backup and write the words
On BACKUP TYPE, tap PAPER.
Backup type screen with ERA CARD and PAPER buttons. On BACKUP SETUP, tap SINGLE. SHAMIR splits the phrase into shares — see Create a Shamir backup and Restore from Shamir shares.
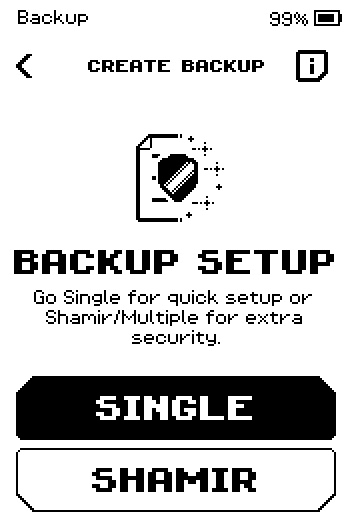
Backup setup screen with SINGLE and SHAMIR buttons. On SEED PHRASE, tap 24 WORDS (or 12 WORDS to match a software wallet that uses 12). 24 words is the stronger choice.
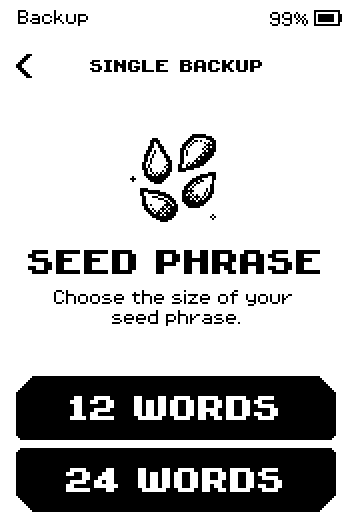
Seed phrase length screen with 12 WORDS and 24 WORDS buttons.
Warning: These words are the wallet. Anyone who has them can spend your funds, and without them the wallet cannot be restored. Keep the paper offline and never photograph it.
On ATTENTION!, make sure nobody can see the screen, then tap START.
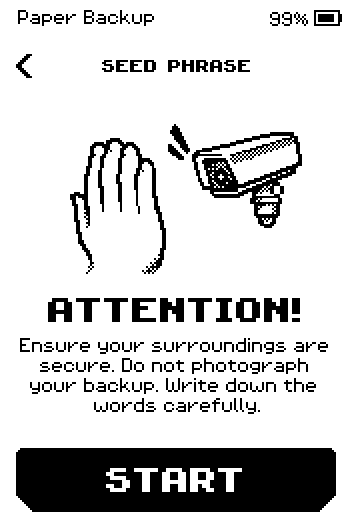
Attention screen: secure your surroundings, do not photograph. Write every word down, in order, with its number. Swipe up to see the next eight words. The 24 WORDS drop-down in the header switches to 12 words; the phrase is regenerated, so start writing again.
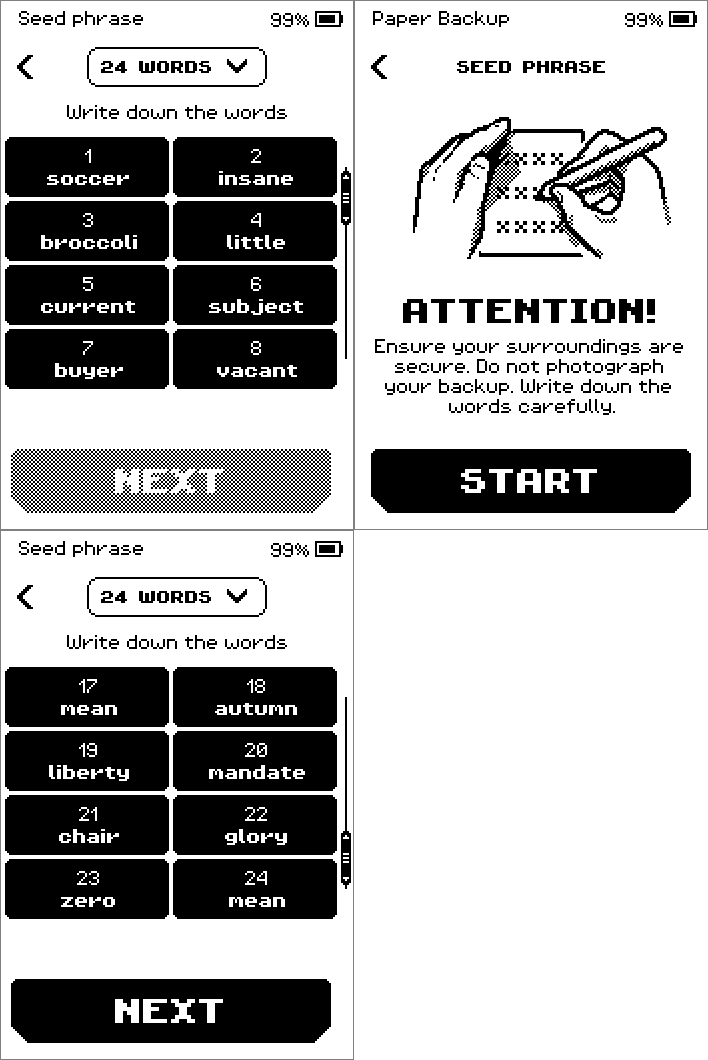
Seed phrase pages showing 24 numbered words. Tap NEXT on the last page of words.
Confirm the seed phrase
On CONFIRM SEED PHRASE, tap NEXT.
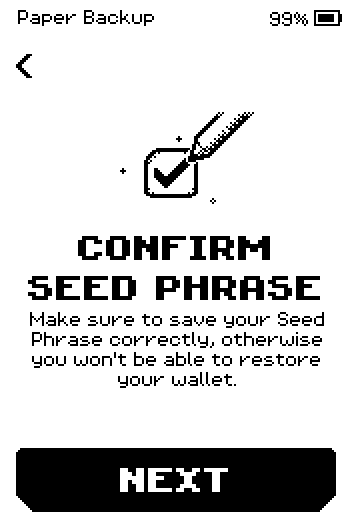
Confirm seed phrase intro screen. Check the list against your paper, then swipe up to the end and tap CONFIRM. Three words are hidden; those are tested next.
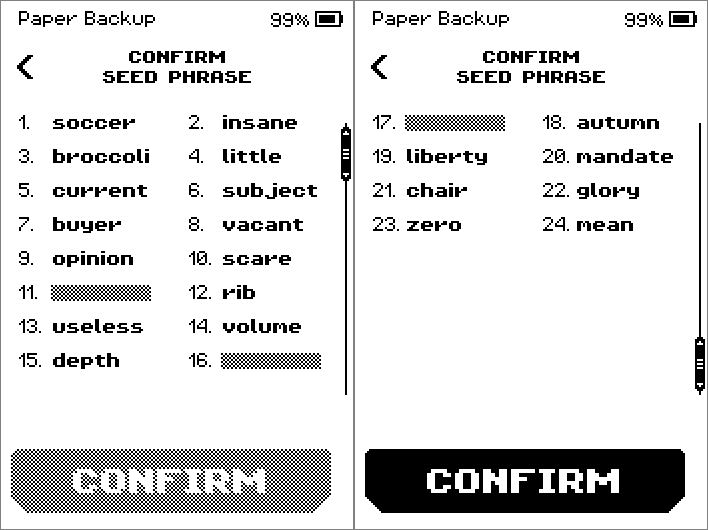
Confirm seed phrase list with three hidden words. For each of the 3 steps, tap the word that has the number shown.
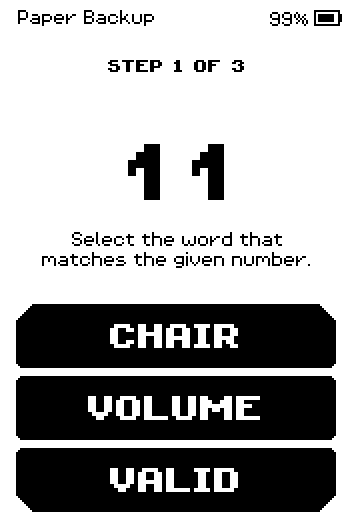
Step 1 of 3: pick the word for number 11 from three choices. A wrong tap shows Incorrect word, highlights the right one, and asks a different number. After 5 mistakes you are sent back to the words.
On ERA BACKUP, tap START to add a card now (Part 2, steps 3 to 7), or SKIP. Then continue with Part 3.
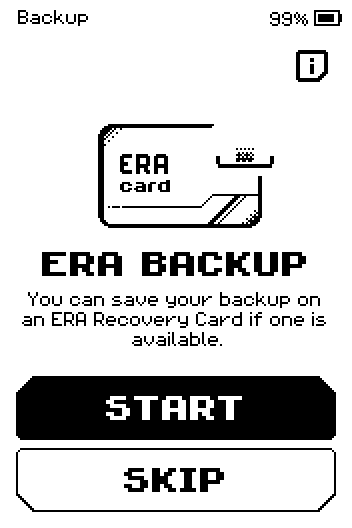
ERA backup offer with START and SKIP buttons.
Part 3: Name and icon
On CREATE NAME, tap CREATE (or SKIP to keep the default name, for example Wallet_1).
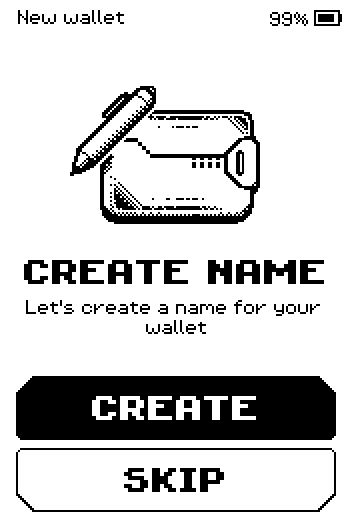
Create name screen with CREATE and SKIP buttons.
Note: The arrow key is caps lock: tap it once for capitals and again to go back to lowercase. !#1 opens numbers and symbols.
Delete the default name with backspace, type a name, then tap OK.
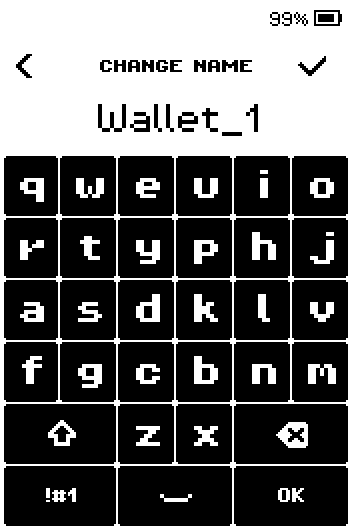
Change name keyboard with the default name Wallet_1. On NAME ASSIGNED:, tap OK.
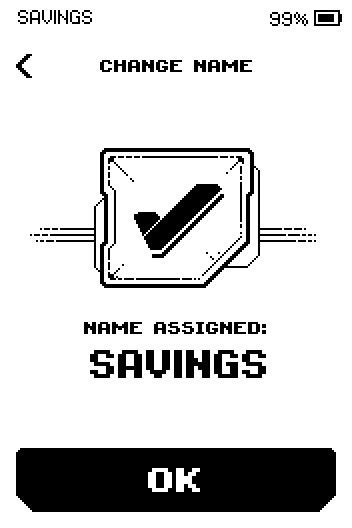
Name assigned confirmation screen. On CHOOSE ICON, tap an icon, then CONFIRM.
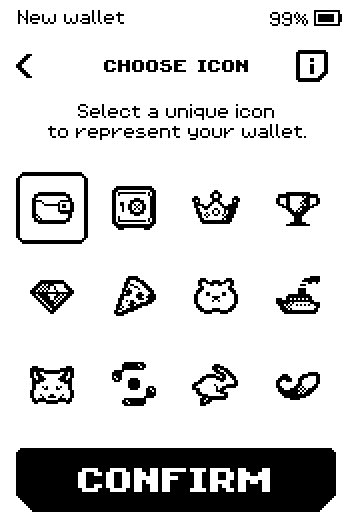
Choose icon grid with CONFIRM button. On CHANGE ICON, tap DONE.
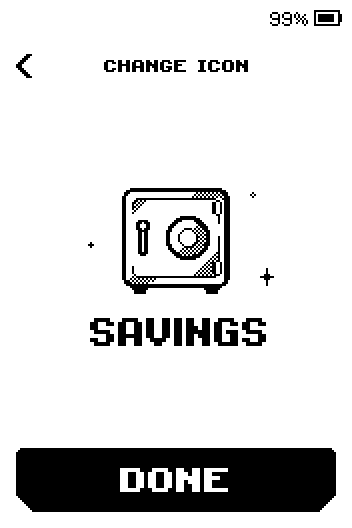
ERA: Change icon.
Part 4: Link the ERA Wallet app
On LINK YOUR WALLET, tap LINK NOW.
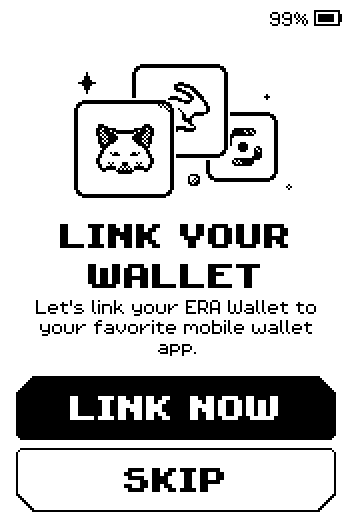
Link your wallet screen with LINK NOW and SKIP buttons. On the wallet list, tap ERA Wallet (the first row).
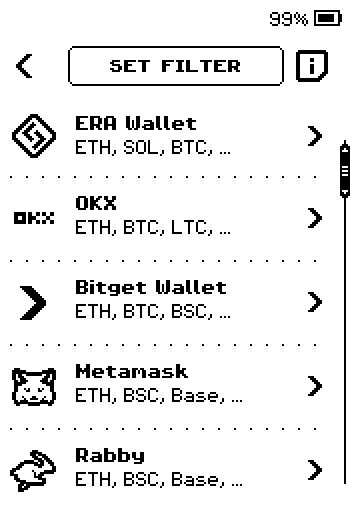
Wallet app list, first page: ERA Wallet, OKX, Bitget Wallet, Metamask, Rabby. On app.era-wallet.com, tap NEXT. If the app is not on your phone yet, scan this QR code with the phone first.
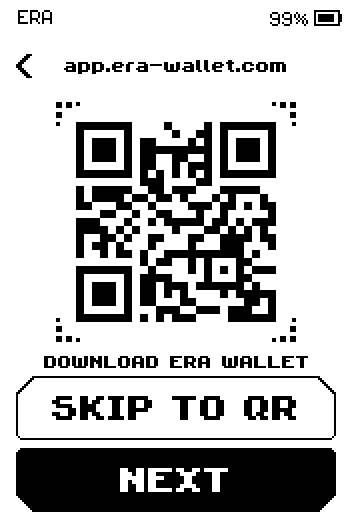
Download ERA Wallet page showing a QR code for app.era-wallet.com, with SKIP TO QR and NEXT buttons. Swipe up to the last page of CONNECT ERA Wallet.
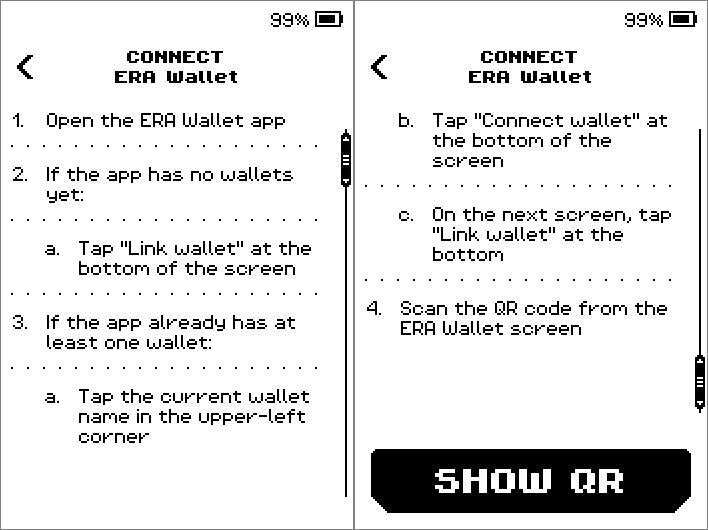
Connect ERA Wallet instructions over two pages: open the app, tap Link wallet or Connect wallet, scan the QR code; SHOW QR button. Tap SHOW QR. QR FOR LINK appears and animates; leave it on screen.
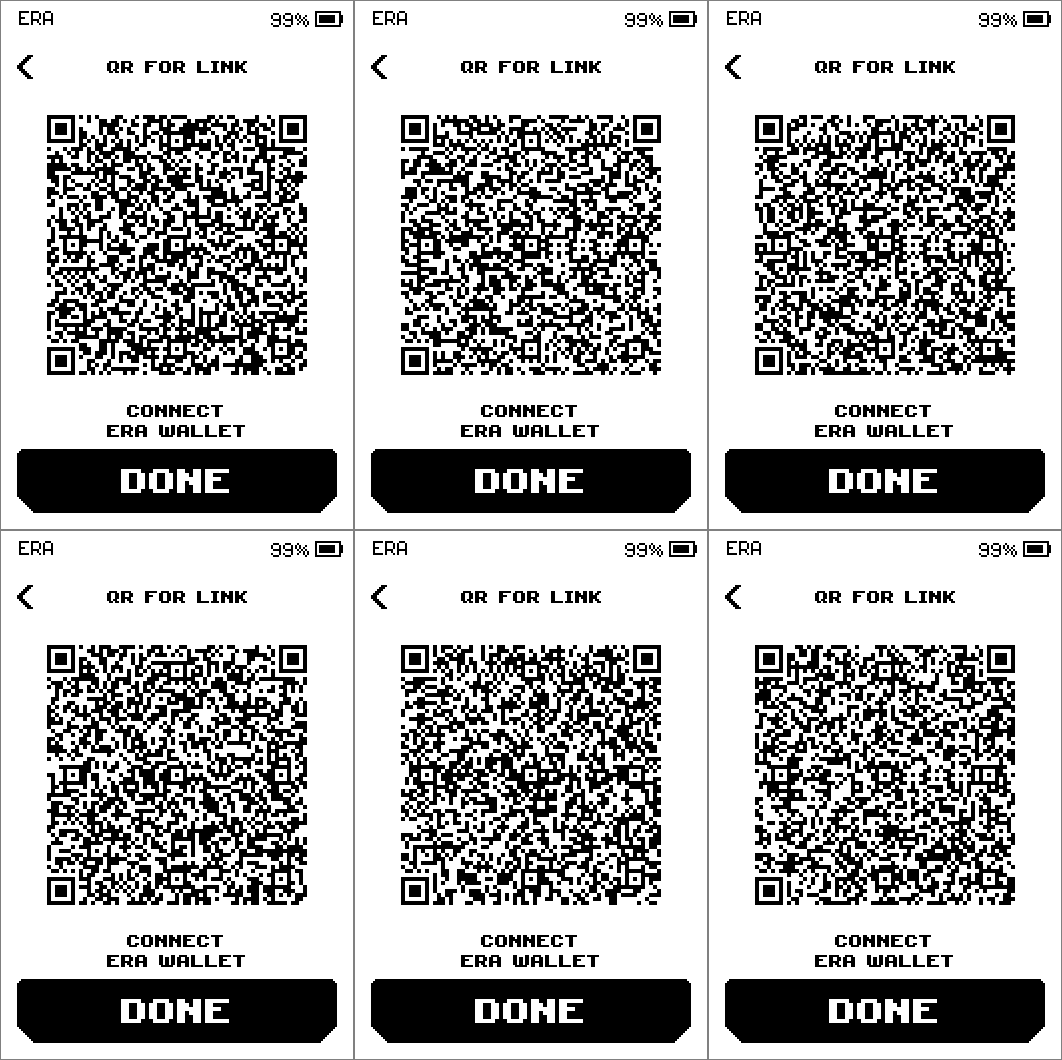
QR for link screen with an animated QR code, the caption CONNECT ERA WALLET and a DONE button. On the phone, open the ERA Wallet app. On Connect your ERA Wallet, tap Link Wallet.
9:41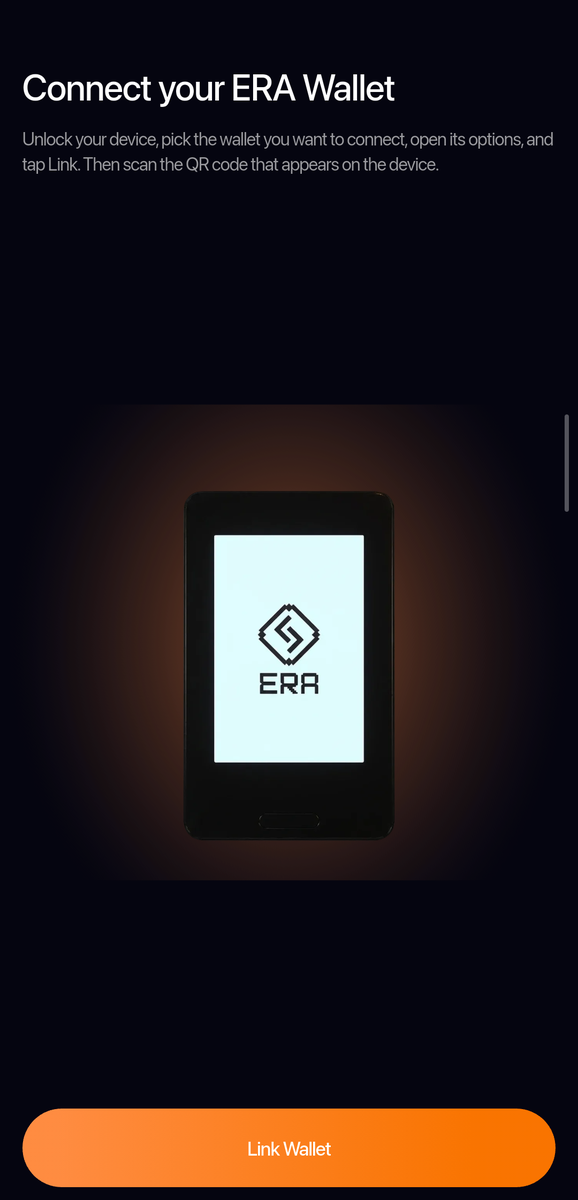
Phone: Connect your ERA Wallet. Point the phone camera at the ERA screen and hold still until the app finishes reading the code.
9:41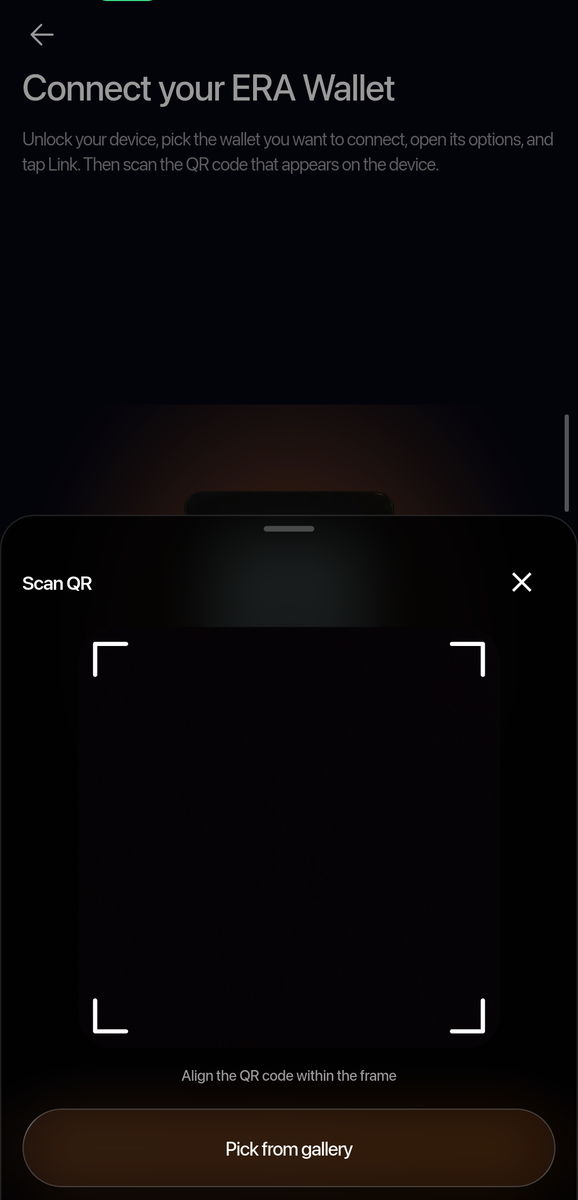
Phone: The app's Scan QR page; point the camera at the QR FOR LINK screen on the ERA. On the ERA, tap DONE.
On YOUR WALLET IS READY!, tap FINISH. The device opens the WALLETS list (or the Main menu if this is the first wallet on the device).
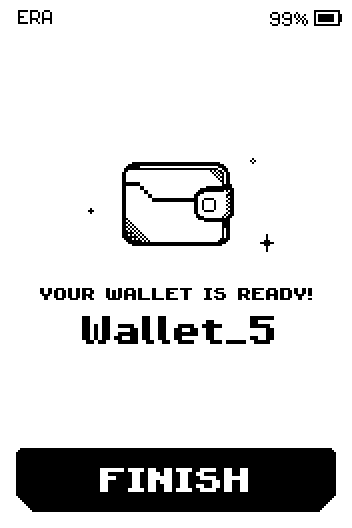
Your wallet is ready screen with the wallet name and a FINISH button.
To link another software wallet (Sparrow, MetaMask, Rabby, Keplr…), see Linking overview.
Link later
On LINK YOUR WALLET, tap SKIP, then FINISH. You can link at any time from the wallet's settings — see Link the ERA Wallet app, which also covers an app that already holds a wallet.
Done
Your wallet is created and its backup is on the ERA Recovery Card. It is listed under WALLETS, and the ERA Wallet app lists it too; if it is the first wallet on the device, the ERA shows the Main menu. Keep the card away from the device and separate from the card PIN.
Trouble?
NOT ENOUGH RANDOMNESS after the swipe step → tap TRY AGAIN and move your finger over the whole box in loops and zigzags, not one straight line.
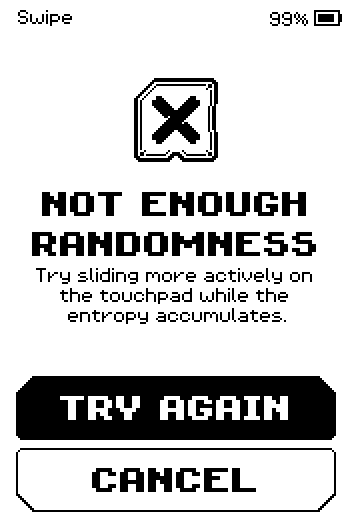
Not enough randomness screen with TRY AGAIN and CANCEL. CARD NOT EMPTY → the card already holds a backup. Tap BACK and use another card from the box, or OVERWRITE and enter that card's old PIN.
ERROR with Your ERA Card was not detected. Please, try again! → move the card over the upper back of the device and tap TRY AGAIN.
The NEXT button under the words is grey → swipe up until the last page of words; it turns black there.
Incorrect word during the check → the right word is highlighted for a moment; keep going, the device asks another number.
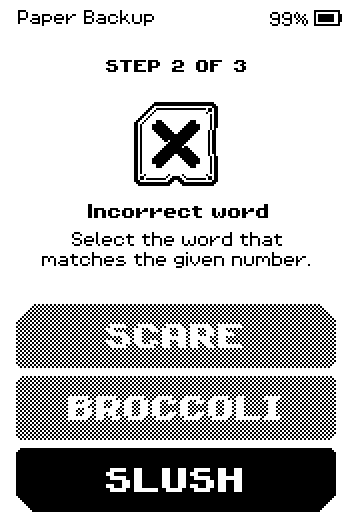
Incorrect word feedback with the right answer highlighted. YOU MADE 5 MISTAKES → the words on your paper do not match. Tap the button to see the words again and rewrite them.
Pressing the hardware button during setup asks Exit Wallet Setup? → CANCEL to keep going; EXIT throws the unfinished wallet away.
Related
Randomness you don't have to trust: how ERA generates your seed phrase — the ERA blog on where the randomness comes from