
Backups and recovery
Use the Recovery Manager
RECOVERY MANAGER on the main menu holds every card task. Each task asks for the card PIN, then asks you to place the card on the upper back of the device.
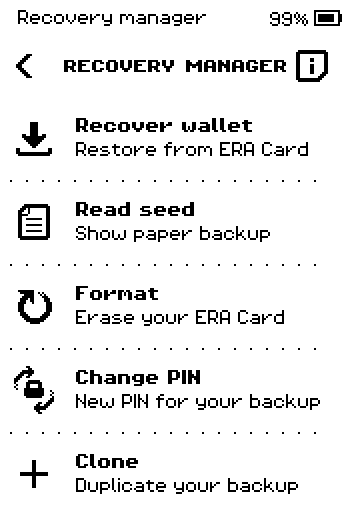
Part 1: Restore a wallet from one card
On the main menu, tap RECOVERY MANAGER.
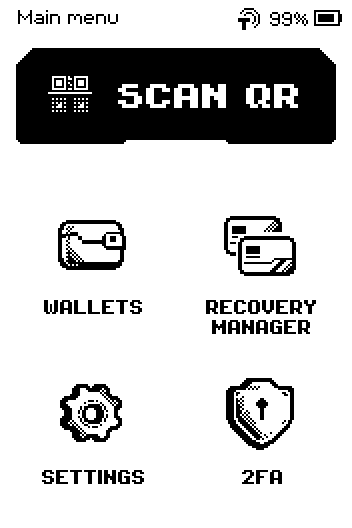
Main menu with SCAN QR, WALLETS, RECOVERY MANAGER, SETTINGS and 2FA. Tap Recover wallet.
RECOVERY MANAGER menu with Recover wallet as the first row. On SELECT METHOD, tap SINGLE.
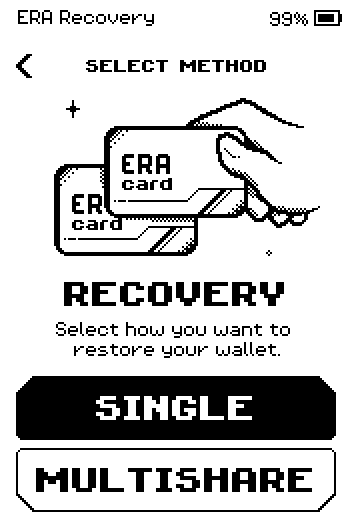
SELECT METHOD screen with SINGLE and MULTISHARE buttons. Tap START.
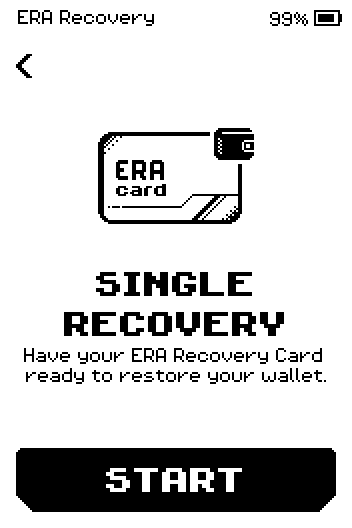
SINGLE RECOVERY intro: have your ERA Recovery Card ready, with a START button. On CONFIRM ACCESS, tap ENTER PIN.
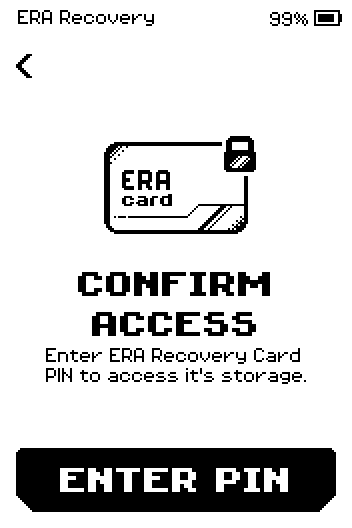
CONFIRM ACCESS screen with an ENTER PIN button. Enter the card PIN, then tap OK.
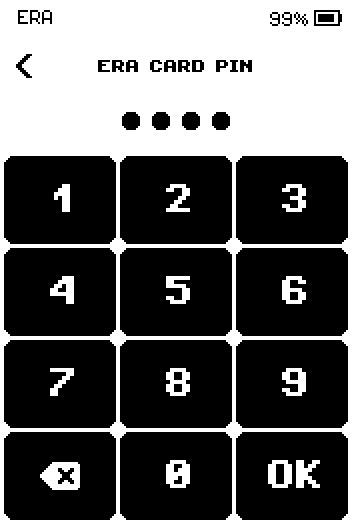
ERA CARD PIN keypad with four dots entered and an OK key. Place the card on the upper back of the device and hold it still.
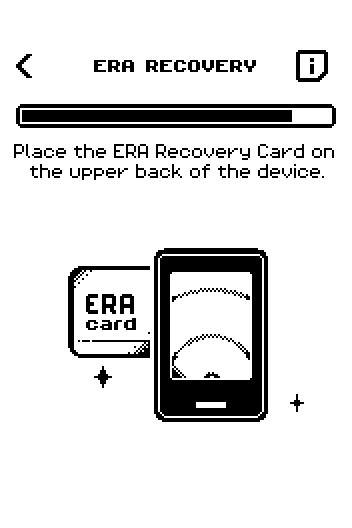
ERA: ERA Recovery, card placement. On PAPER BACKUP, tap START to write the words down now, or SKIP.
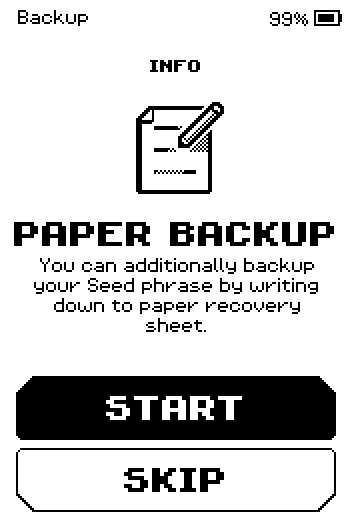
PAPER BACKUP offer with START and SKIP buttons. Finish the wallet setup: name, icon, link, then FINISH.
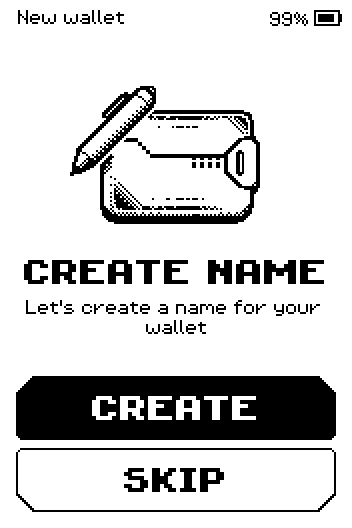
CREATE NAME screen with CREATE and SKIP buttons.
Part 2: Restore a wallet from several cards (multishare)
In RECOVERY MANAGER, tap Recover wallet > MULTISHARE.
SELECT METHOD screen with SINGLE and MULTISHARE buttons. Tap NEXT.
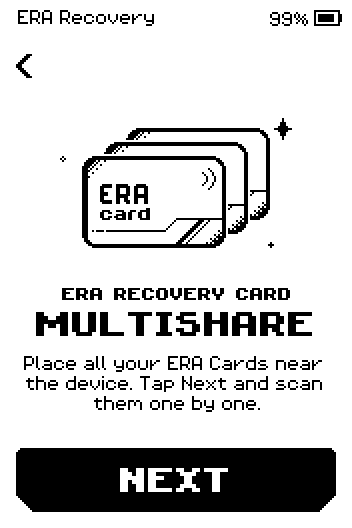
ERA RECOVERY CARD MULTISHARE instruction: place all your ERA cards near the device, with a NEXT button. On CONFIRM ACCESS, tap ENTER PIN.
CONFIRM ACCESS screen with an ENTER PIN button. Enter the card PIN, then tap OK.
ERA CARD PIN keypad with an OK key. Place the first card on the upper back of the device and hold it still, as in Part 1, step 7.
On SUCCESS, tap NEXT, then place the next card. Repeat until the threshold is reached.
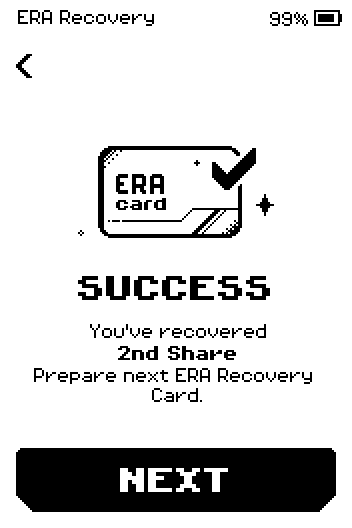
SUCCESS: you've recovered the 2nd share, prepare the next ERA Recovery Card, with a NEXT button. On the final SUCCESS, tap NEXT and finish the setup as in Part 1.
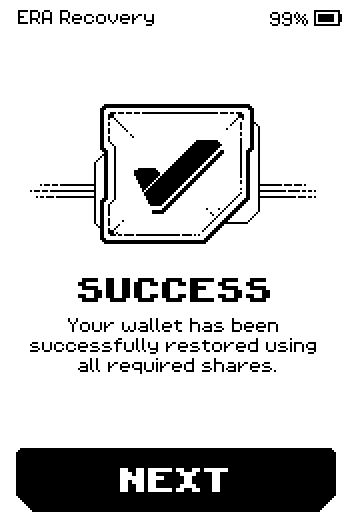
SUCCESS: your wallet has been restored using all required shares, with a NEXT button.
Part 3: Read the words on a card
In RECOVERY MANAGER, tap Read seed.
Enter the card PIN, then tap OK.
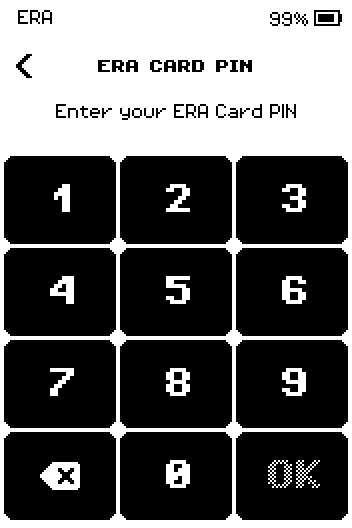
ERA CARD PIN keypad: enter your ERA Card PIN. Place the card on the upper back of the device and hold it still.
Write the words down if you need a paper copy, then tap DONE.
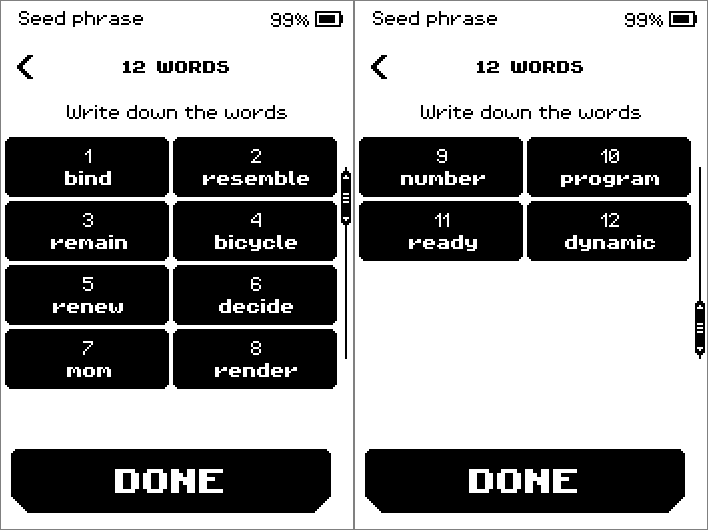
12 WORDS pages showing the words stored on the card, with a DONE button. A card that holds one share of a multi-share backup shows that share's own word list, not the whole seed: Read seed only decodes what is on the card.
Part 4: Change the card PIN
In RECOVERY MANAGER, tap Change PIN.
On ENTER OLD PIN, enter the current card PIN and tap OK.
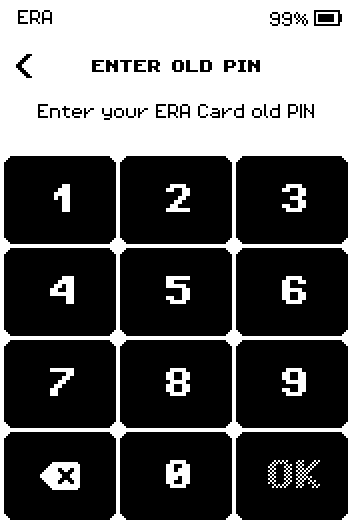
ENTER OLD PIN keypad: enter your ERA Card old PIN. On CREATE NEW PIN, enter the new PIN and tap OK.
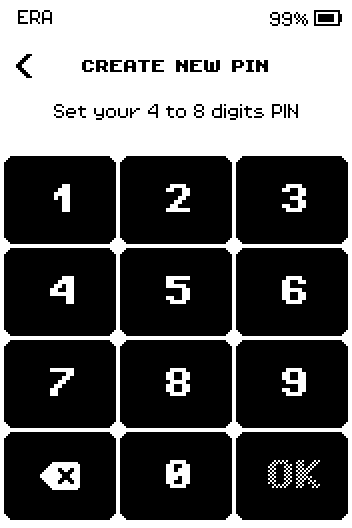
CREATE NEW PIN keypad: set your 4 to 8 digits PIN. Enter the new PIN again and tap OK.
Place the card on the device and hold it still until the change is written.
Tap OK.
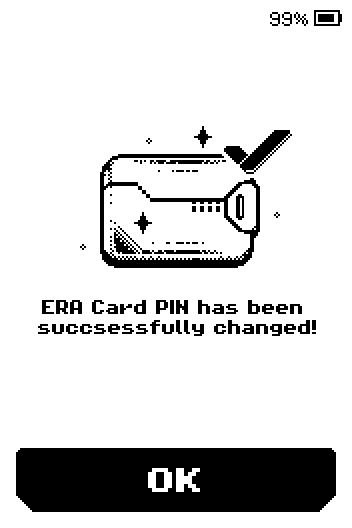
ERA Card PIN has been successfully changed, with an OK button.
Part 5: Clone a card
In RECOVERY MANAGER, tap Clone.
Enter the card PIN, then tap OK.
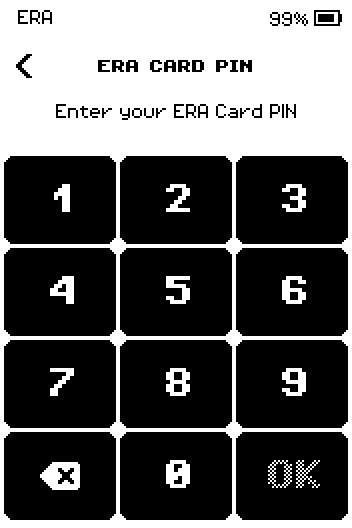
ERA CARD PIN keypad for the clone task. Place the card to copy on the upper back of the device and hold it still.
On CLONE, take the first card away, then tap NEXT.
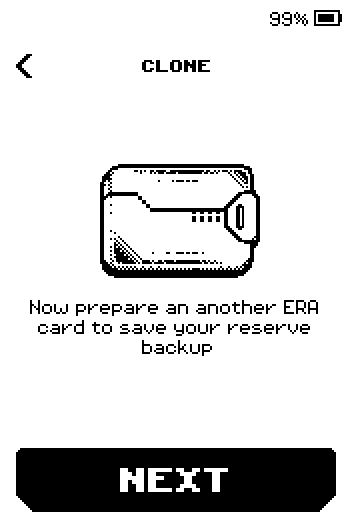
CLONE screen: now prepare another ERA card to save your reserve backup, with a NEXT button. Place a blank card on the device and hold it still until the bar fills.
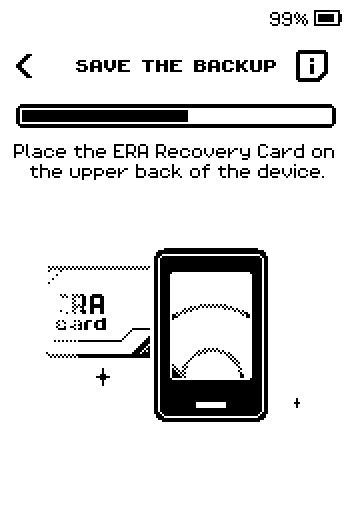
SAVE THE BACKUP screen: place the ERA Recovery Card on the upper back of the device. Tap DONE. The copy has the same card PIN as the original.
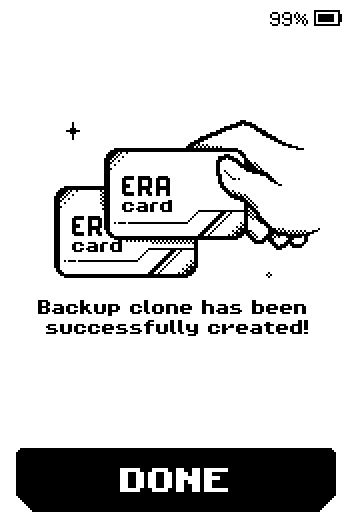
Backup clone has been successfully created, with a DONE button.
Part 6: Erase a card
Warning: Erasing removes the backup from the card for good. Check that another backup of that wallet exists first.
In RECOVERY MANAGER, tap Format.
Enter the card PIN, then tap OK.
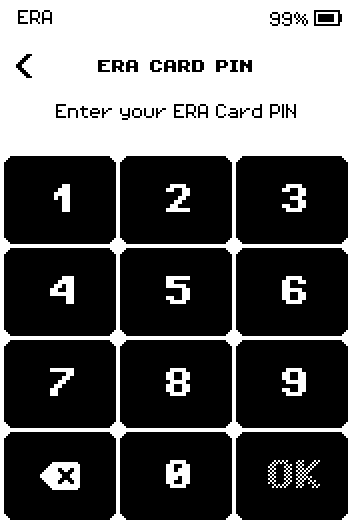
ERA CARD PIN keypad for the format task. Place the card on the upper back of the device and hold it still.
Tap OK. The card is blank and can be written again.
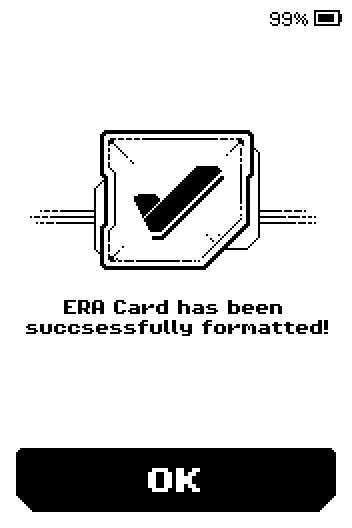
ERA Card has been successfully formatted, with an OK button.
Done
The task's success screen was shown and you are back on RECOVERY MANAGER. Tap the back chevron to return to the main menu.
Trouble?
ERA CARD IS EMPTY → the card holds no backup. Tap CANCEL and use the right card.
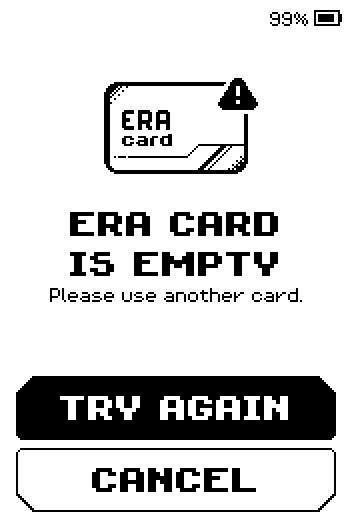
ERA CARD IS EMPTY screen with TRY AGAIN and CANCEL buttons. ERROR saying you chose single recovery but the card is a multishare (or the reverse) → tap CANCEL and choose the other method.
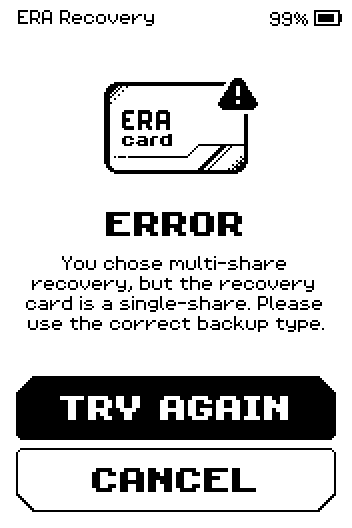
ERROR: you chose multi-share recovery but the recovery card is a single-share, with TRY AGAIN and CANCEL. INVALID PIN → the card PIN is wrong; the screen shows the attempts left before the card is blocked (16 in total). Tap TRY AGAIN. Source: Help Center
CARD IS BLOCKED with Please use another card. → too many wrong PINs; the card cannot be used. Tap OK and restore from another backup.
Restoring a wallet that is already on the device → ERA adds a second copy with a new name; delete the one you do not need. See Rename, change icon or delete a wallet.
Any other card screen, or the same one again and again → Fix an ERA Card error lists every one, with what to do.
Related
Fix an ERA Card error — every card error screen and how to get past it
Create a wallet in Expert mode — the name, icon and link screens