
Device settings and firmware updates
Check device info and run the authenticity check
Steps
Part 1: About Device
On the main menu, tap SETTINGS.
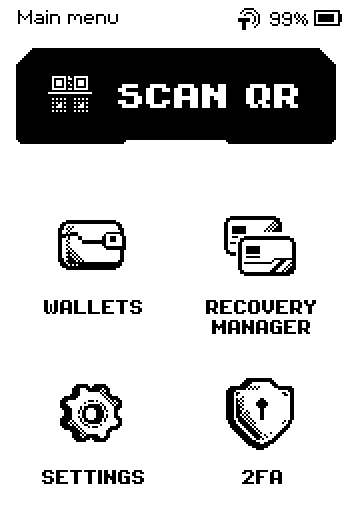
Main menu with SCAN QR, WALLETS, RECOVERY MANAGER, SETTINGS and 2FA Swipe up and tap About Device.
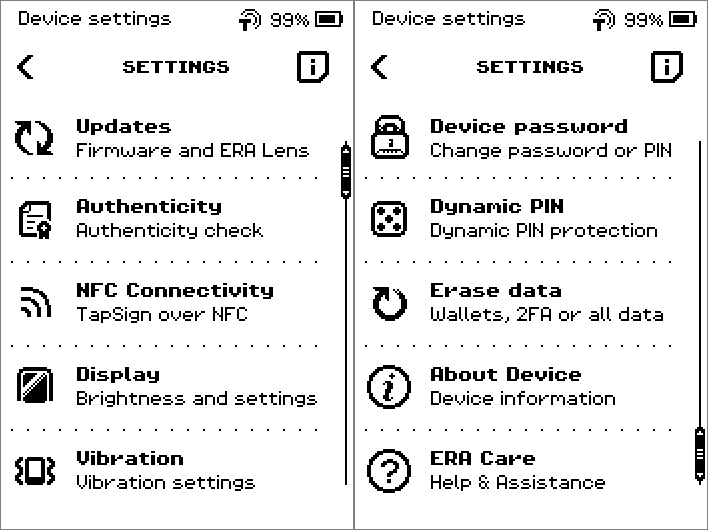
SETTINGS list, second page: Device password, Dynamic PIN, Erase data, About Device, ERA Care On the DEVICE INFO menu, tap System version. The list shows the versions of the firmware, bootloader, bootstrapper and ERA Lens.
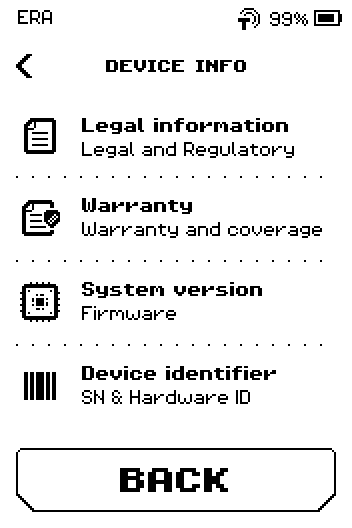
DEVICE INFO menu: Legal information, Warranty, System version, Device identifier Tap BACK > Device identifier. The page shows the serial number and hardware version; support will ask for these.
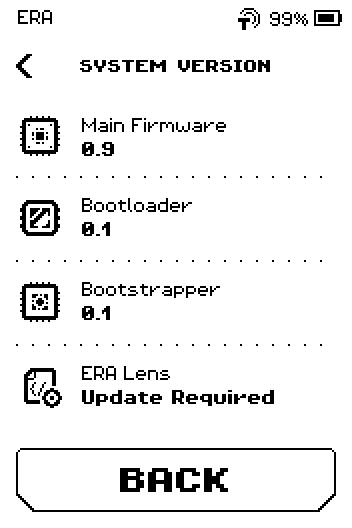
SYSTEM VERSION list: Main Firmware, Bootloader, Bootstrapper, ERA Lens Tap BACK > Legal information. The page shows the model, FCC ID, input voltage and battery data.
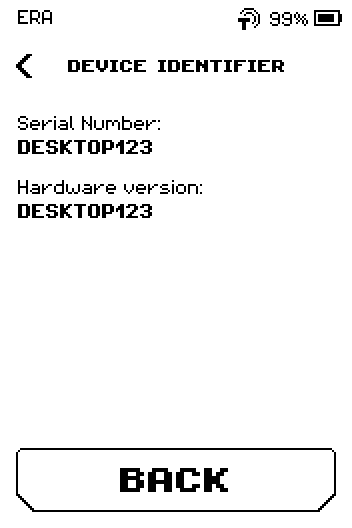
DEVICE IDENTIFIER page with Serial Number and Hardware version Tap BACK > Warranty. ERA has a one-year limited warranty. Source: era-wallet.com
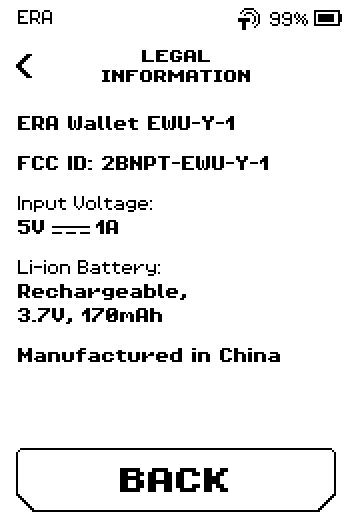
LEGAL INFORMATION page with model, FCC ID, voltage and battery Tap SHOW QR.
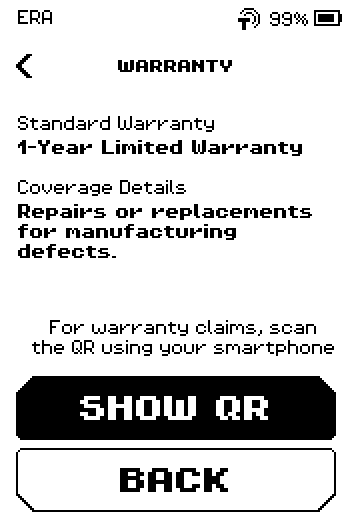
WARRANTY page: 1-Year Limited Warranty, SHOW QR button Show the ERA screen to your phone's camera to open the warranty claim link.
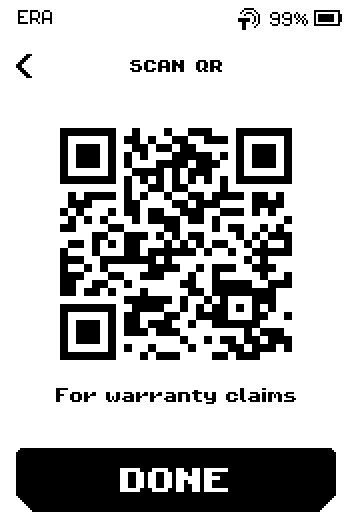
SCAN QR page with the warranty claims QR code Tap DONE.
Part 2: ERA Care (support)
On the SETTINGS page, swipe up and tap ERA Care.
SETTINGS list, second page: Device password, Dynamic PIN, Erase data, About Device, ERA Care Show the ERA screen to your phone's camera to open the support chat.
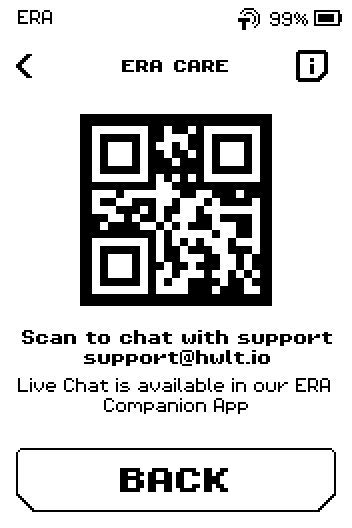
ERA CARE page with support QR code and support@hwlt.io
App-store links
On the ERA CARE page, tap the i icon for the iOS and Android app-store QR codes.
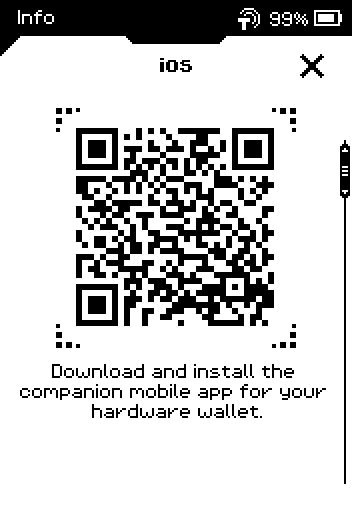
Part 3: Authenticity check again
You did this once at first start. You can repeat it any time, for example after a repair or before selling the device.
On the SETTINGS page, tap Authenticity.
SETTINGS list, first page: Updates, Authenticity, NFC Connectivity, Display, Vibration
The four steps of the check (the i page)
On the Authenticity Check page, tap the i icon to read the four steps, then the X to close.
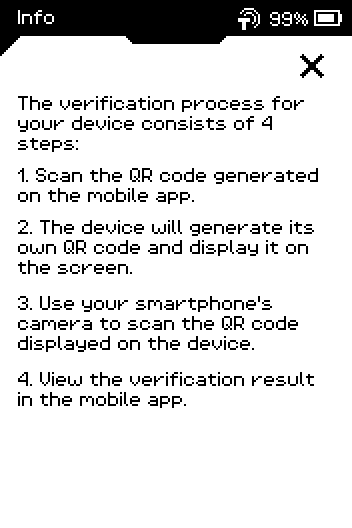
On your phone, tap Settings > Authenticity Check, then Verify device (or Check again on a device checked before).
9:41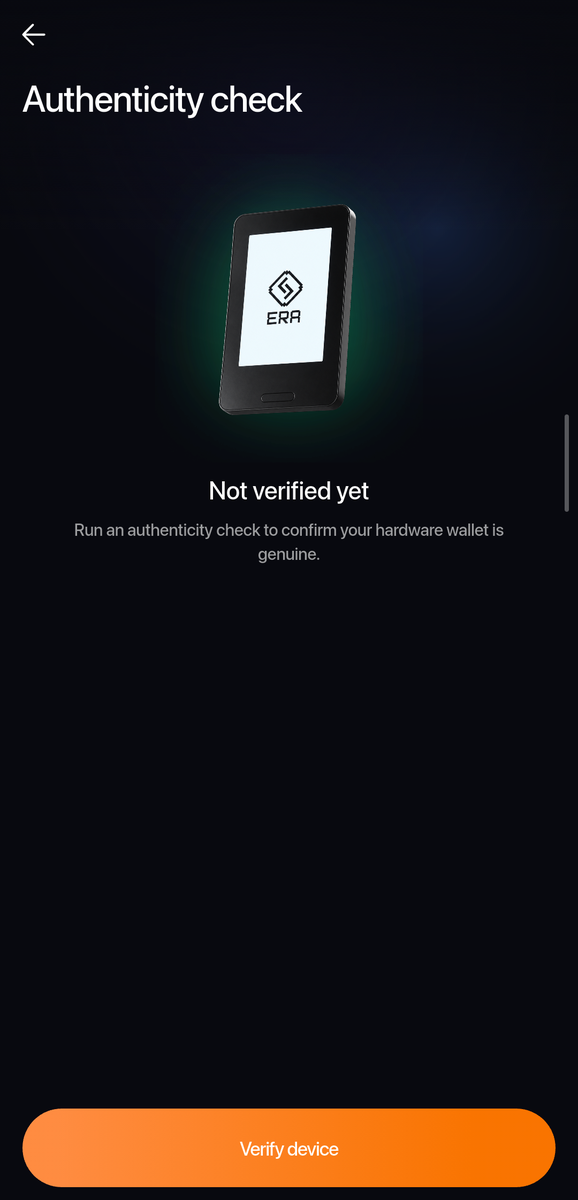
Phone: Authenticity check status. On Verify your ERA Wallet, tap Start verification.
9:41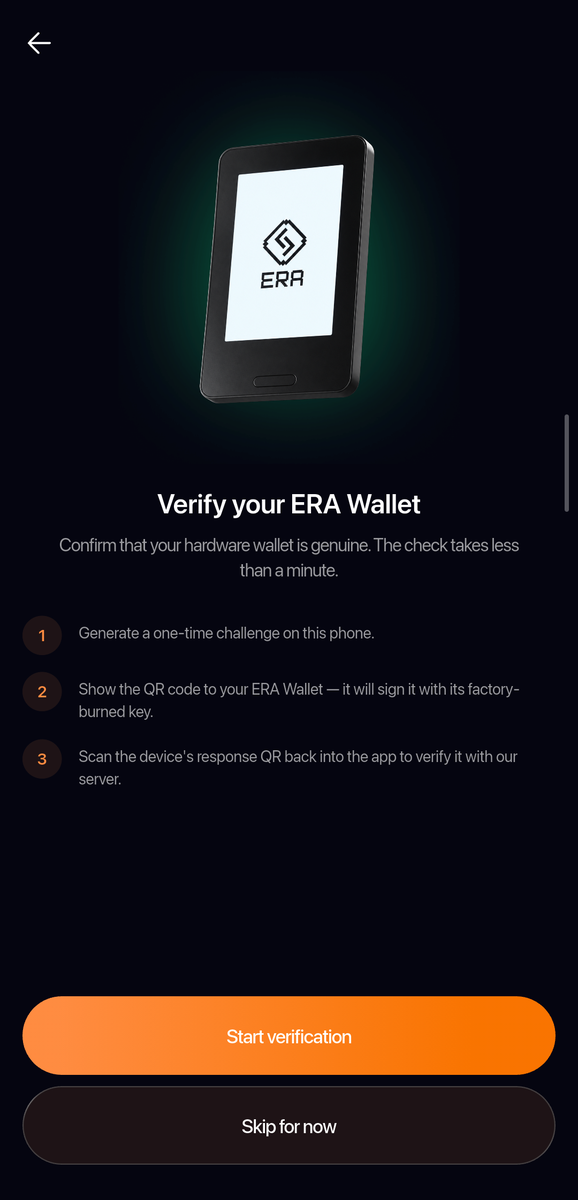
Phone: Verify your ERA Wallet. The app shows Show this QR to your wallet. Leave it on screen.
9:41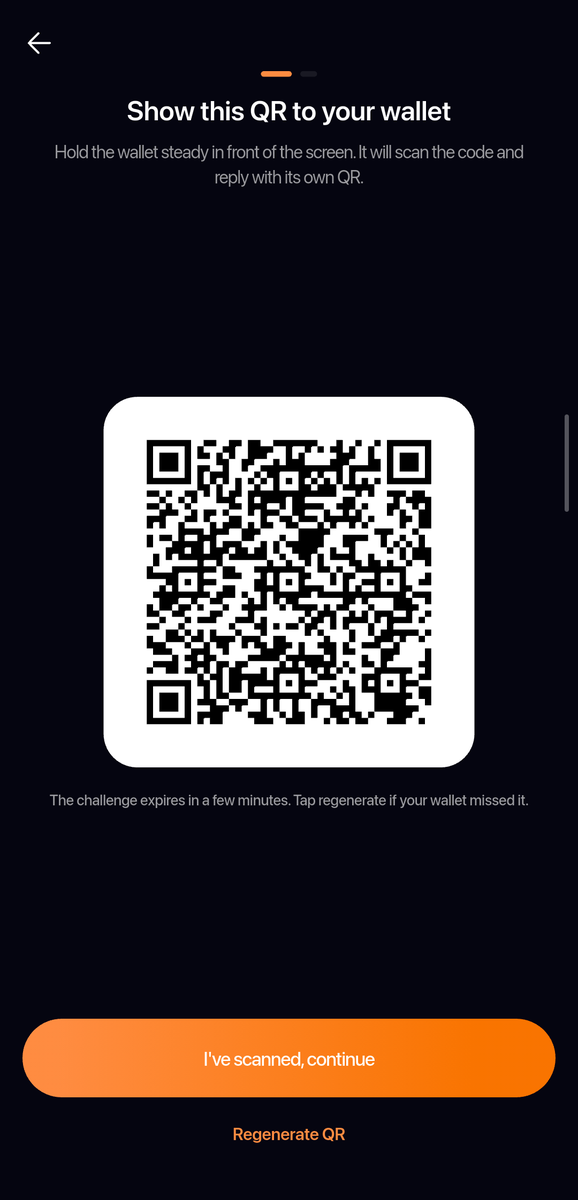
Phone: the challenge QR code for the ERA camera. On ERA, tap NEXT. The camera opens.
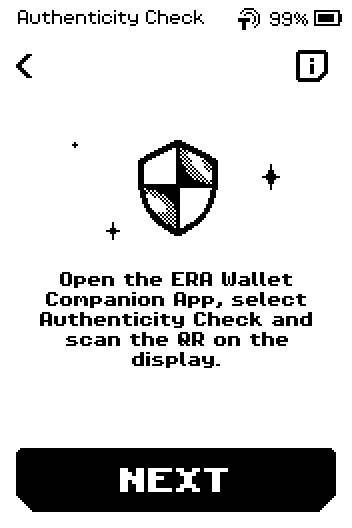
Authenticity Check start page with shield icon and NEXT button Point the ERA camera at the phone's QR code.
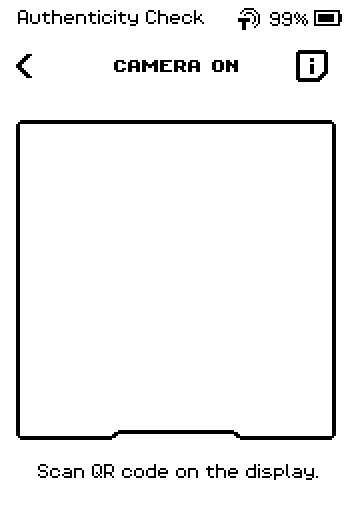
CAMERA ON page: Scan QR code on the display When ERA shows its own QR code, tap I've scanned, continue in the app. The phone camera opens in Scan QR; show the ERA screen to it. Source: Help Center
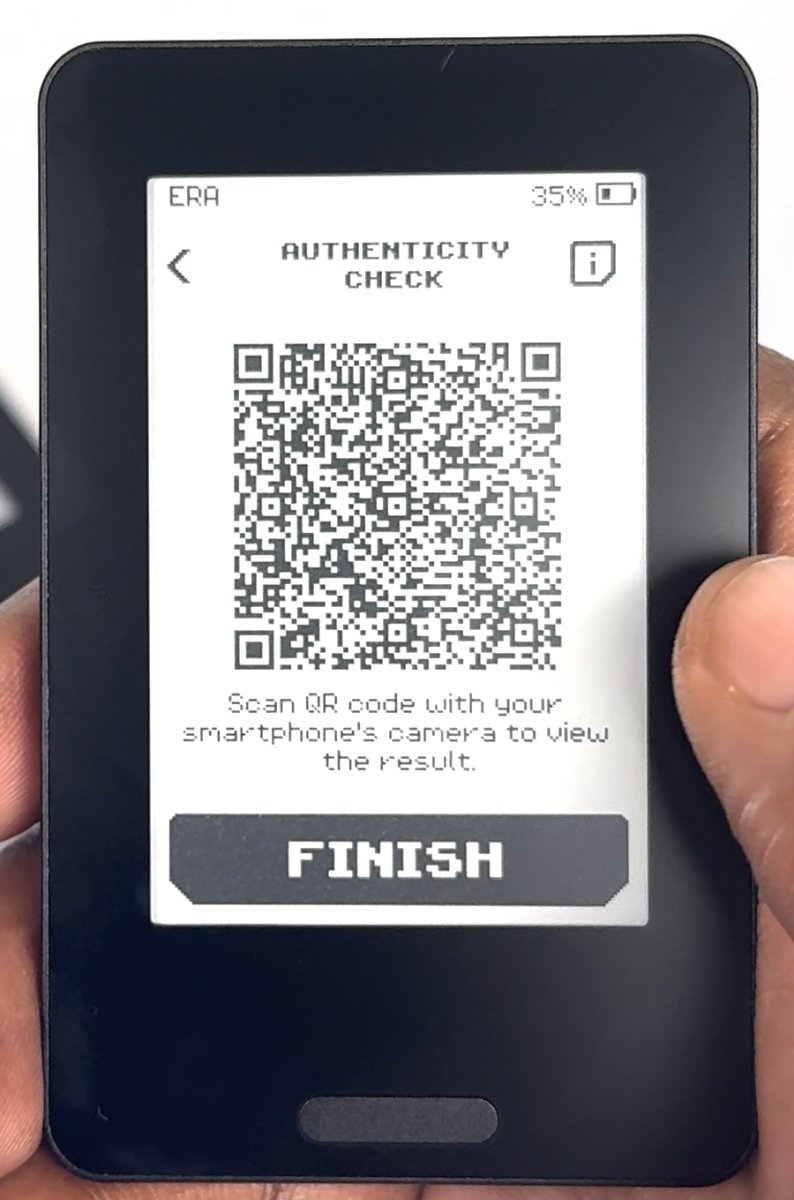
Photo: ERA's answer QR code with the FINISH button. When the app shows Authenticity check success, tap Great in the app, then FINISH on ERA.
Done
The app reports whether the device is genuine, and ERA returns to SETTINGS.
Trouble?
ERA shows INVALID REQUEST (The action cannot be completed due to wallet mismatch or unsupported QR code.) after scanning → the phone showed a QR from another feature; go back to Authenticity Check in the app and scan again.
The camera does not read the phone → raise the phone's brightness and hold it 15–20 cm from the camera.
ERA Lens shows Update Required under System version → see Update the firmware; the transaction preview database is missing or old.