Linking
Link the ERA Wallet app
The ERA Wallet app is the companion app for the device. One link carries every network the app supports.
Steps
Part 1: On the ERA
On the wallet screen, tap the settings icon (sliders) > Link. See Open the Link menu.
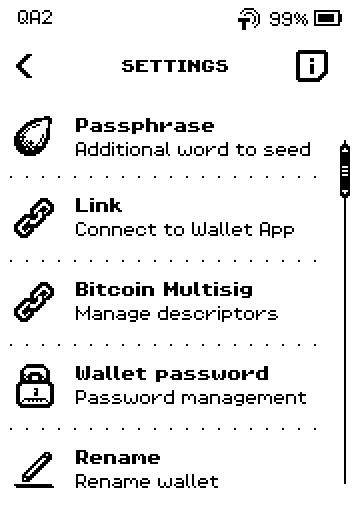
ERA: Wallet settings. On the wallet list, tap ERA Wallet.
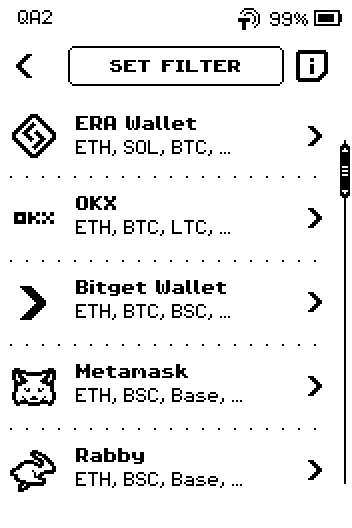
ERA: Wallet app list. On the app.era-wallet.com page, tap NEXT. If the app is not on your phone yet, scan the QR with your phone first.
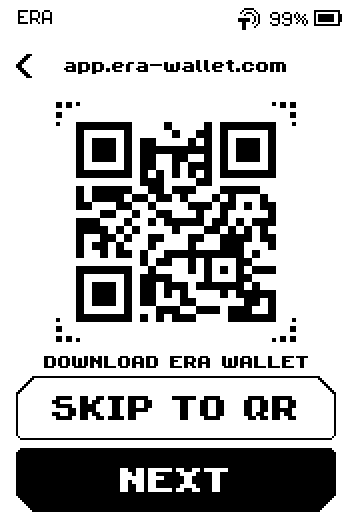
ERA: Download ERA Wallet. Swipe up to the last page of CONNECT ERA Wallet.
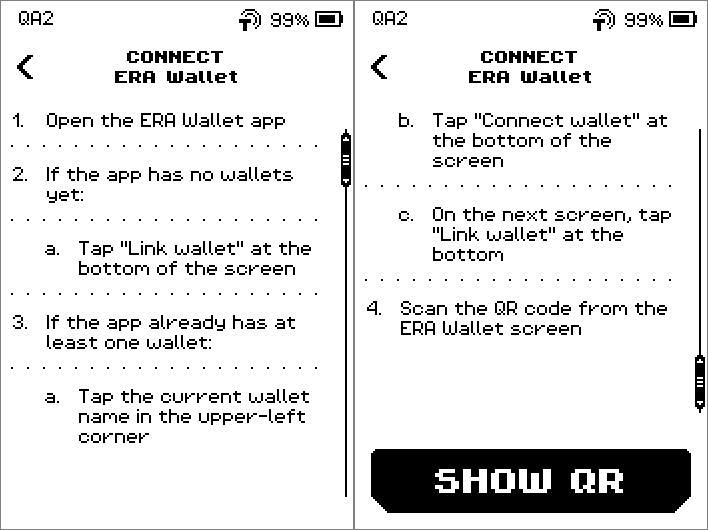
ERA: Connect ERA Wallet. Tap SHOW QR.
QR FOR LINK appears and animates. Leave it on screen.
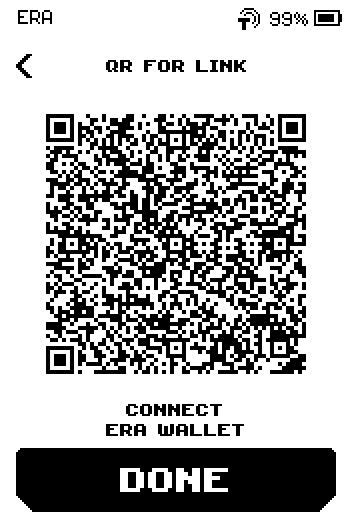
ERA: QR for link.
Part 2: In the ERA Wallet app
The device shows these steps; they are repeated here.
Open the ERA Wallet app.
On Connect your ERA Wallet, tap Link Wallet.
9:41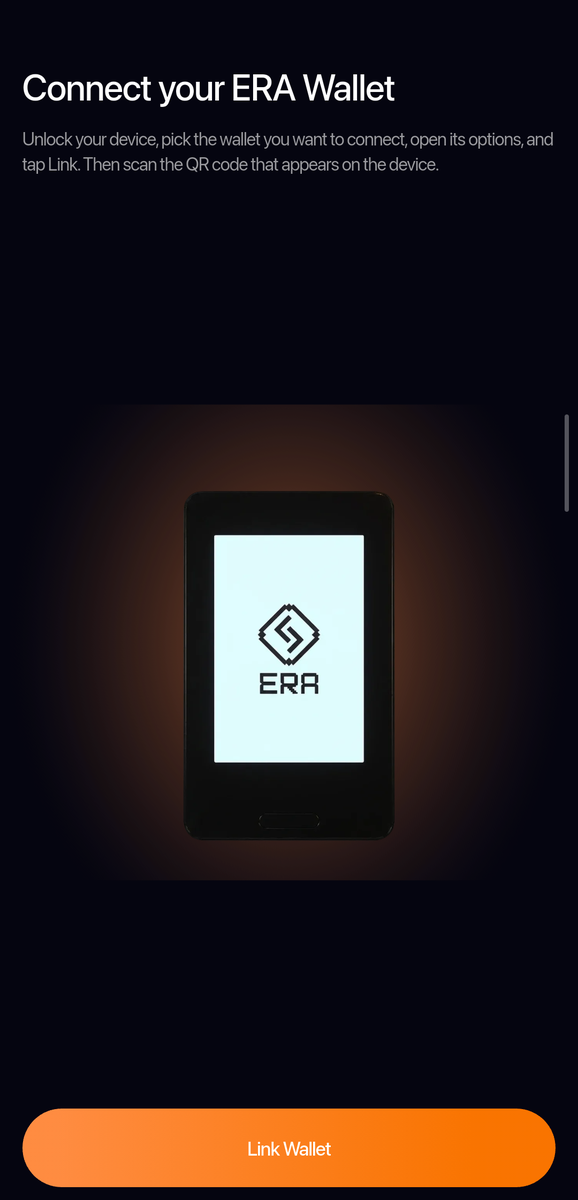
Phone: Connect your ERA Wallet. Point the phone camera at the ERA screen and hold still until the app finishes reading the code.
9:41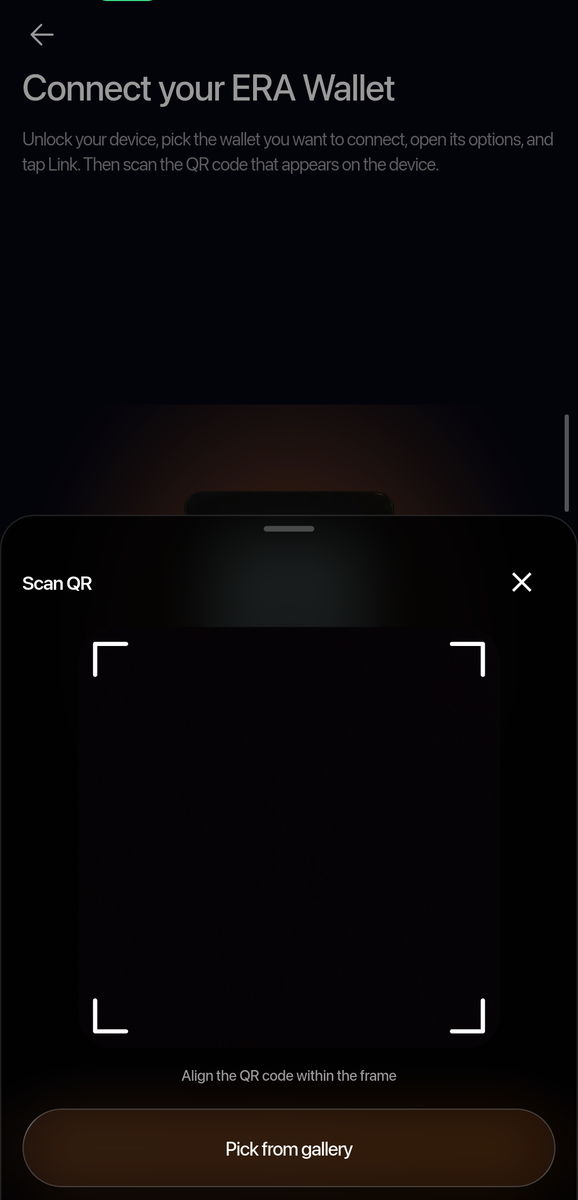
Phone: The app's Scan QR page; point the camera at the QR FOR LINK screen on the ERA. On the ERA, tap DONE. The device returns to the wallet SETTINGS.
If the app already has a wallet
Instead of step 2: tap the current wallet name in the upper-left corner. On Wallets, tap Connect Wallet, then on the next screen tap Link Wallet.
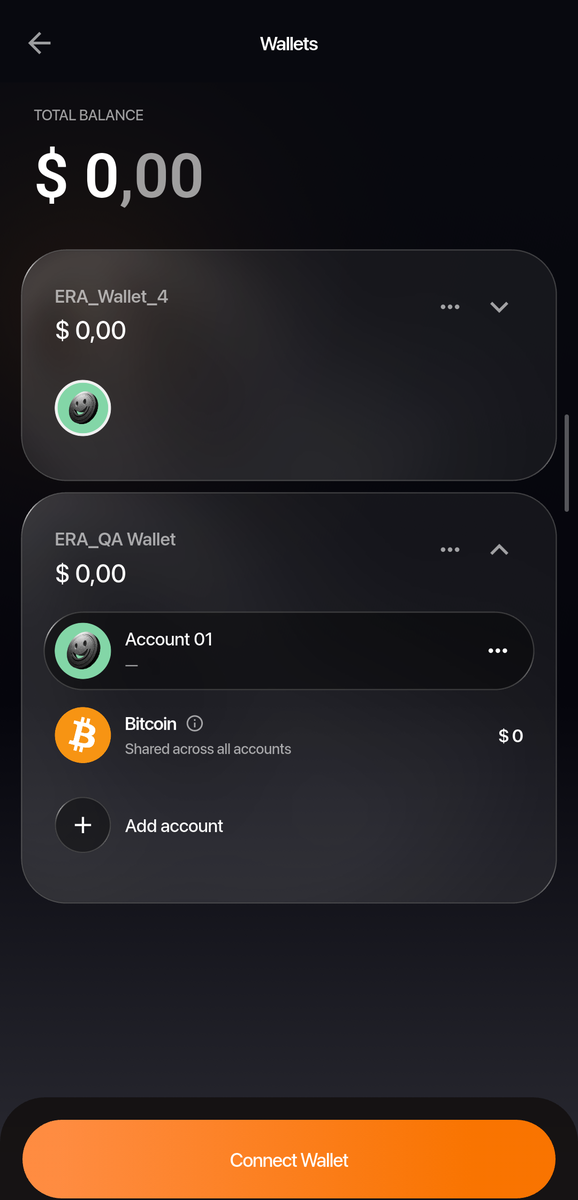
Done
The app lists your wallet with its networks, and the ERA is back on SETTINGS. Sending funds now starts in the app and is approved on the ERA — see the signing guides.
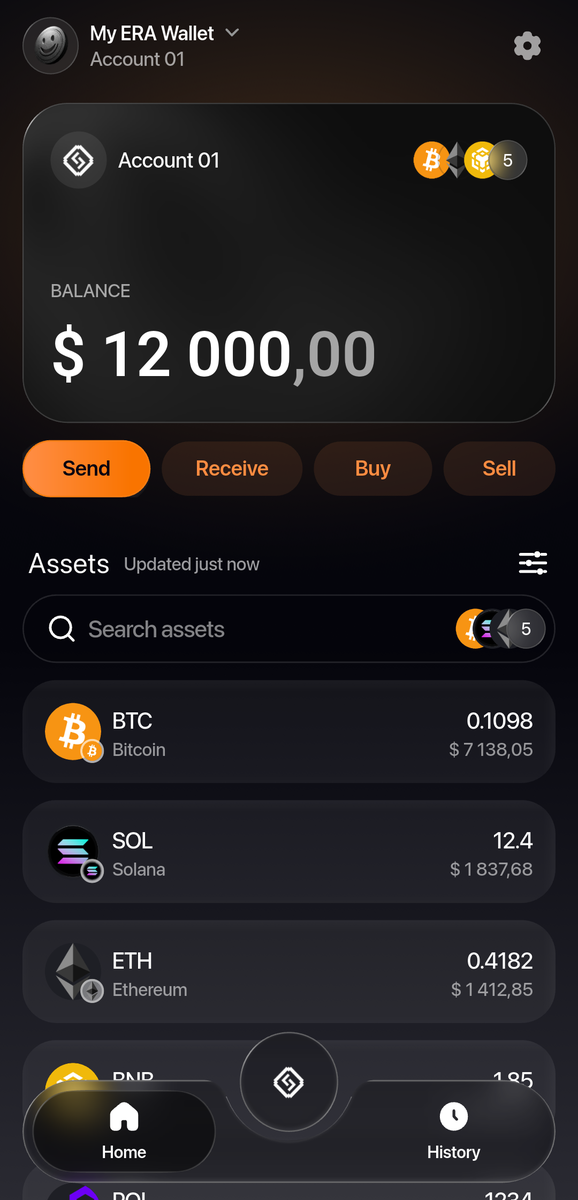
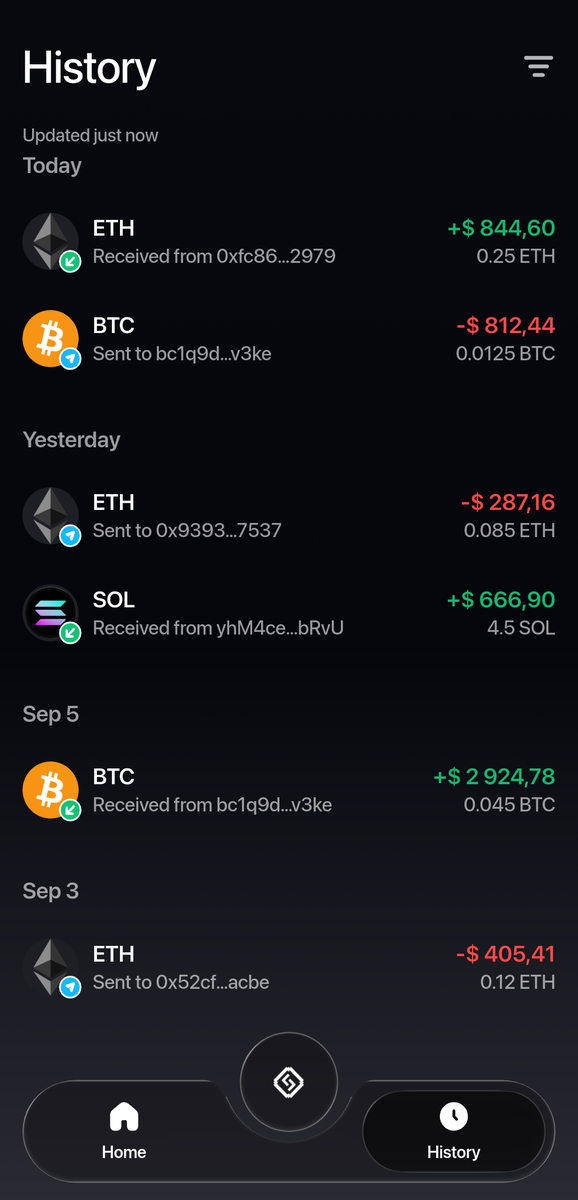
The History tab lists what has come in and gone out, with the amount in coins and in dollars.
Trouble?
The app says it cannot read the code → hold the phone 15–20 cm away and wait for the animation to loop; see Linking problems.
The app shows a different address than the ERA DEPOSIT screen → check the address type and network; see Supported chains.
You tapped SKIP TO QR and want the steps back → tap the back chevron on QR FOR LINK to return to the download page, then NEXT.