
First-time setup
Choose Standard or Expert setup
When you create a wallet, the ERA asks for a SETUP MODE: STANDARD or EXPERT. Both produce a wallet you fully own; they differ in how much you decide yourself.
Steps
Pick the row that describes you.
| STANDARD (simplified) | EXPERT (advanced) | |
|---|---|---|
| Who it is for | Most owners: first wallet, done in 15 minutes (recommended) | Advanced users who want control over every choice |
| Randomness for the keys | Generated by the device from its two hardware random number generators: one in the main chip, one in the secure element | The same two, plus three you add: draw on the touchscreen, shake the device, film with the camera |
| Seed phrase length | 24 words | 12 or 24 words (single), 20 or 33 words (Shamir shares) |
| Backup layout | Single phrase | Single, Shamir (split into shares with a threshold), or Multishare on several ERA Recovery Cards |
| Backup media | ERA Recovery Card (recommended), then paper as an optional extra; NO CARD switches to paper only | ERA Recovery Card (recommended) or paper first; the other one is offered afterwards as an optional extra |
| Guide | Create your first wallet | Create a wallet in Expert mode |
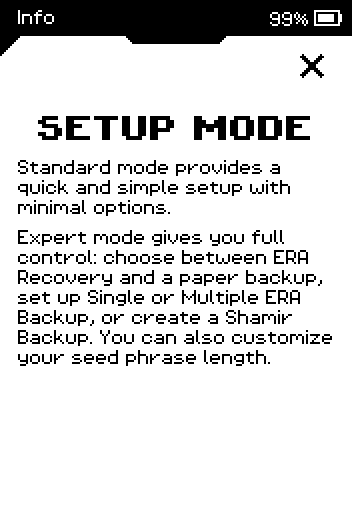
Note: The device explains both modes on the info screen behind the i icon in the header of SETUP MODE.
Open the linked guide. Its first steps bring you to SETUP MODE, where you tap STANDARD or EXPERT.
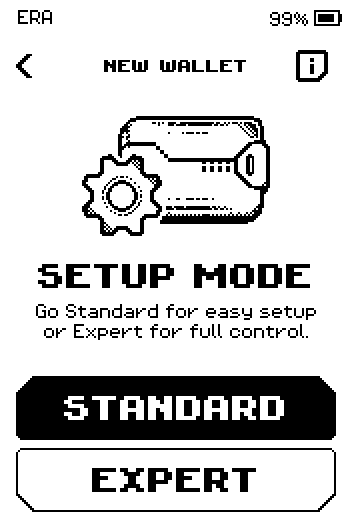
ERA: Setup mode.
Done
You are in the guide that matches your choice.