Linking
Link Guarda
Guarda is a web app, so the ERA skips the app-store page and goes straight to the instructions.
Steps
Part 1: On the ERA
On the wallet screen, tap the settings icon (sliders) > Link. See Open the Link menu.
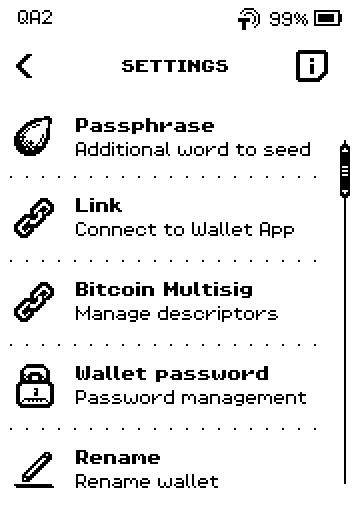
ERA: Wallet settings. On the wallet list, swipe up to the third page and tap Guarda.
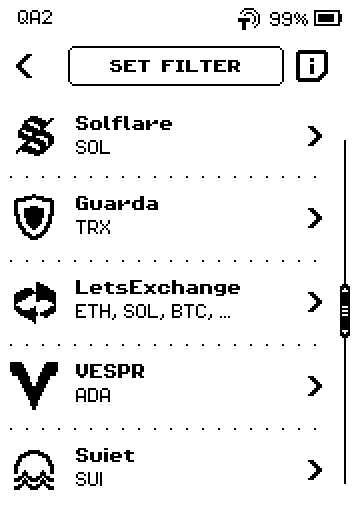
ERA: Wallet app list. Swipe up to the last page of CONNECT Guarda.
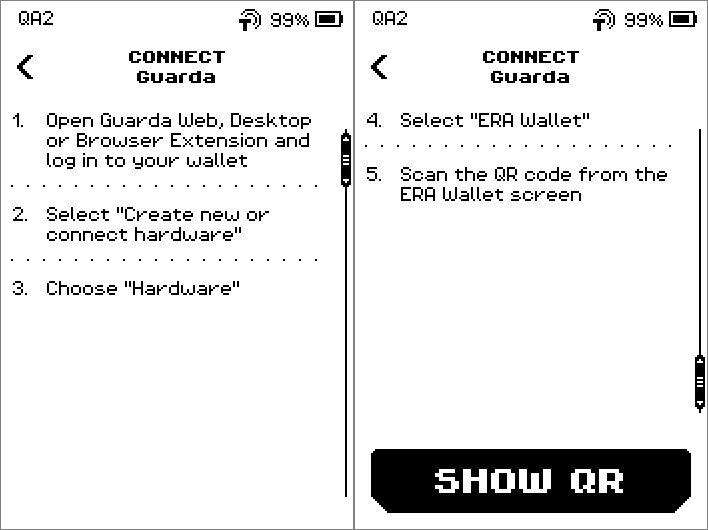
ERA: Connect Guarda. Tap SHOW QR.
QR FOR LINK appears. Leave it on screen.
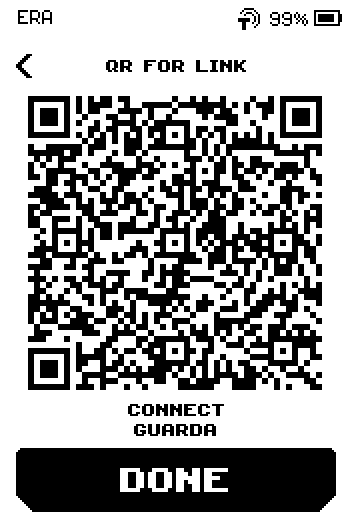
ERA: QR for link.
Part 2: In Guarda
The device shows these steps; they are repeated here.
Open Guarda Web, Desktop or Browser Extension and log in to your wallet.
Choose Create new or connect hardware > Hardware.
Image coming soon — Web screen — Guarda "Create new or connect hardware" dialogWeb: Connect hardware.
Choose ERA Wallet.
Show the ERA screen to the webcam and hold still until Guarda confirms.
Image coming soon — Photo — ERA held up to a webcam while Guarda scansPhoto: Scanning with the webcam.
On the ERA, tap DONE. The device returns to the wallet SETTINGS.
Done
Guarda shows your ERA Tron address, and the ERA is back on SETTINGS.
Trouble?
The webcam never reads the code → see Linking problems.