Linking
Link XRP Toolkit
XRP Toolkit is a website, so the ERA skips the app-store page and goes straight to the instructions.
Steps
Part 1: On the ERA
On the wallet screen, tap the settings icon (sliders) > Link. See Open the Link menu.
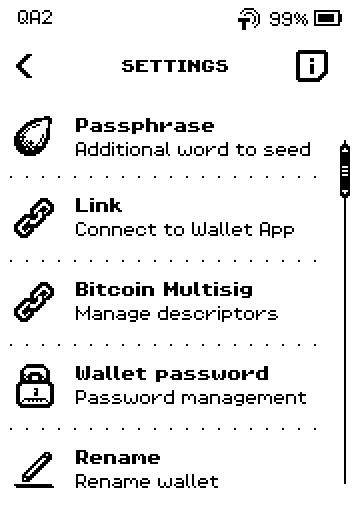
ERA: Wallet settings. On the wallet list, swipe up to the fourth page and tap XRP Toolkit.
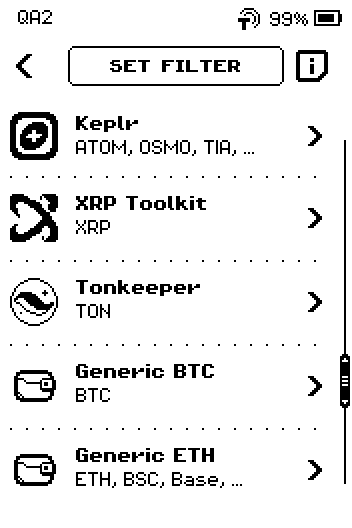
ERA: Wallet app list. Swipe up to the last page of CONNECT XRP Toolkit.
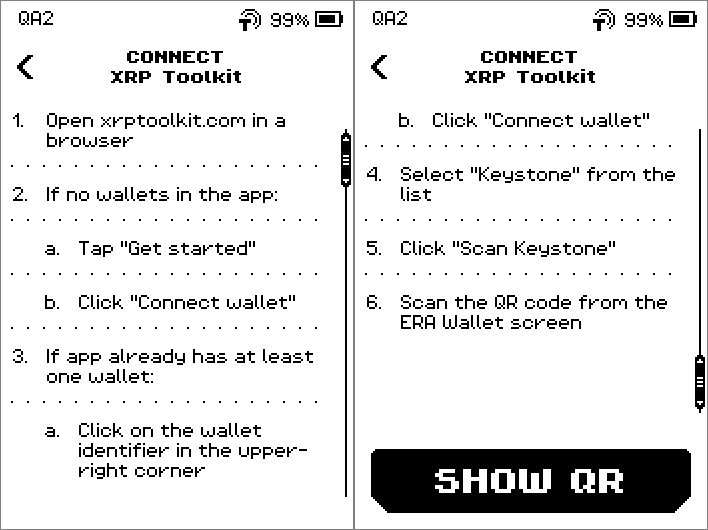
ERA: Connect XRP Toolkit. Tap SHOW QR.
QR FOR LINK appears. Leave it on screen.
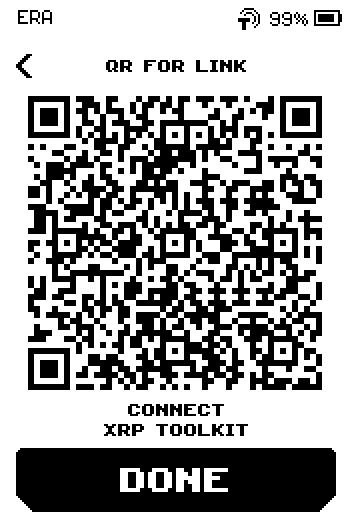
ERA: QR for link.
Part 2: On xrptoolkit.com
The device shows these steps; they are repeated here.
Open xrptoolkit.com in a browser.
Choose Get started > Connect wallet.
Image coming soon — Web screen — xrptoolkit.com Connect wallet dialogWeb: Connect wallet.
Choose Keystone from the list, then Scan Keystone.
Show the ERA screen to the webcam and hold still until the site confirms.
Image coming soon — Photo — ERA held up to a webcam while xrptoolkit.com scansPhoto: Scanning with the webcam.
On the ERA, tap DONE. The device returns to the wallet SETTINGS.
If you already have a wallet on xrptoolkit.com
Instead of step 2: choose the wallet identifier in the upper-right corner, then Connect wallet.
Done
XRP Toolkit shows your ERA XRP address, and the ERA is back on SETTINGS.
Trouble?
The webcam never reads the code → see Linking problems.