Linking
Link BackPack
Steps
Part 1: On the ERA
On the wallet screen, tap the settings icon (sliders) > Link. See Open the Link menu.
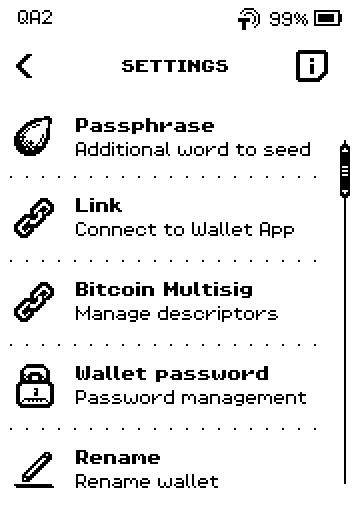
ERA: Wallet settings. On the wallet list, swipe up to the second page and tap BackPack.
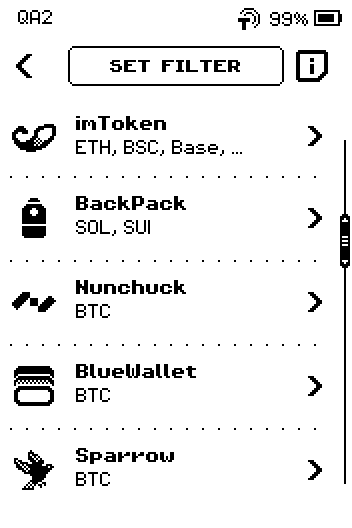
ERA: Wallet app list. On DOWNLOAD BackPack, tap the store for your phone: IOS or ANDROID.
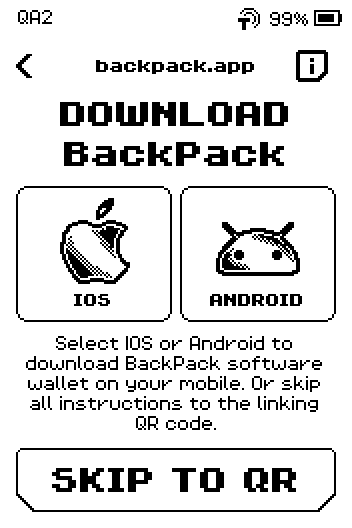
ERA: Download BackPack. On the store page, tap NEXT. If Backpack is not on your phone yet, scan the store QR with your phone first.
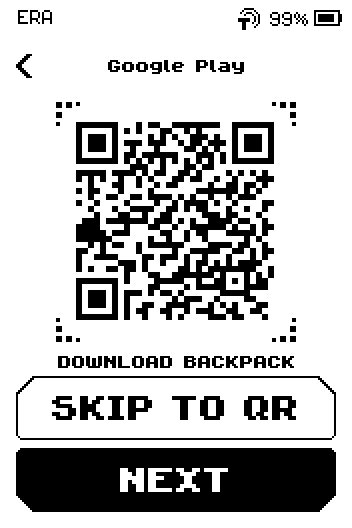
ERA: Download BackPack from Google Play. Swipe up to the last page of CONNECT BackPack.
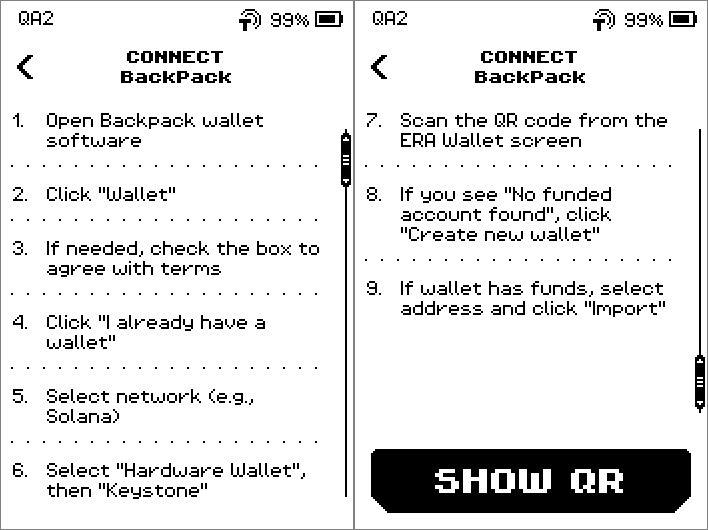
ERA: Connect BackPack. Tap SHOW QR.
QR FOR LINK appears. Leave it on screen.
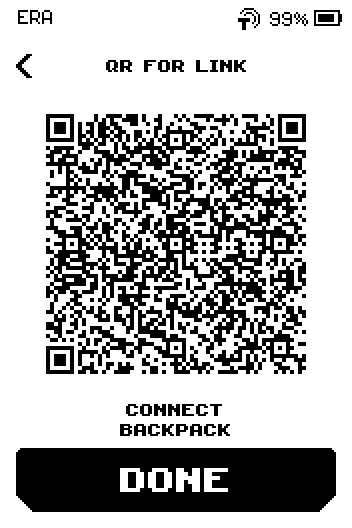
ERA: QR for link.
Part 2: In Backpack
The device shows these steps; they are repeated here.
Open Backpack and tap Wallet. If asked, tick the box to agree with the terms.
Tap I already have a wallet, then tap the network (for example Solana).
Image coming soon — Phone screen — Backpack network selectionPhone: Network list.
Tap Hardware Wallet > Keystone.
Point the phone camera at the ERA screen and hold still until Backpack finishes reading the code.
Image coming soon — Phone screen — Backpack Keystone scanner reading the ERA link codePhone: Scan QR.
When Backpack reports No funded account found, tap Create new wallet.
On the ERA, tap DONE. The device returns to the wallet SETTINGS.
If the wallet already has funds
Instead of step 5: tap the address, then Import.
Done
Backpack shows a wallet with your ERA Solana address, and the ERA is back on SETTINGS.
Trouble?
Backpack shows only "No funded account found" → that is normal for an empty wallet; Create new wallet still uses the ERA keys.
Scanning never completes → see Linking problems.