
Linking
Link several chains at once
The Multichain entry lets you choose which networks go into one link QR code. Use it for apps that accept a multi-account QR and are not listed by name on the ERA.
Steps
Part 1: On the ERA
On the wallet screen, tap the settings icon (sliders) > Link. See Open the Link menu.
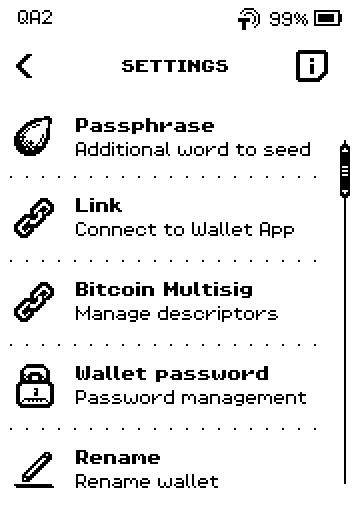
ERA: Wallet settings. On the wallet list, swipe up to the last page and tap Multichain.
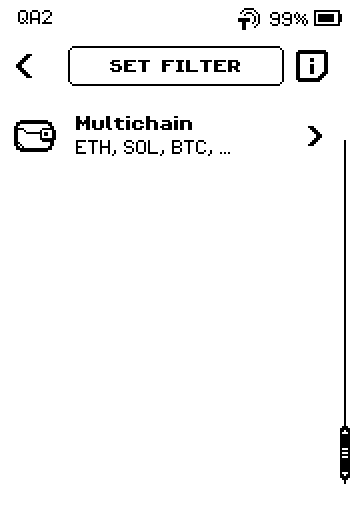
ERA: Wallet app list.
Note: Cardano, Stellar, XRP and TON are not offered in the Multichain list on purpose: their apps reject the generic multi-account code. Use VESPR, XRP Toolkit or Tonkeeper instead.
On SELECT CHAINS, tap each network you want in the link, swiping up to see more (13 pages). A tick appears in each box you tap.
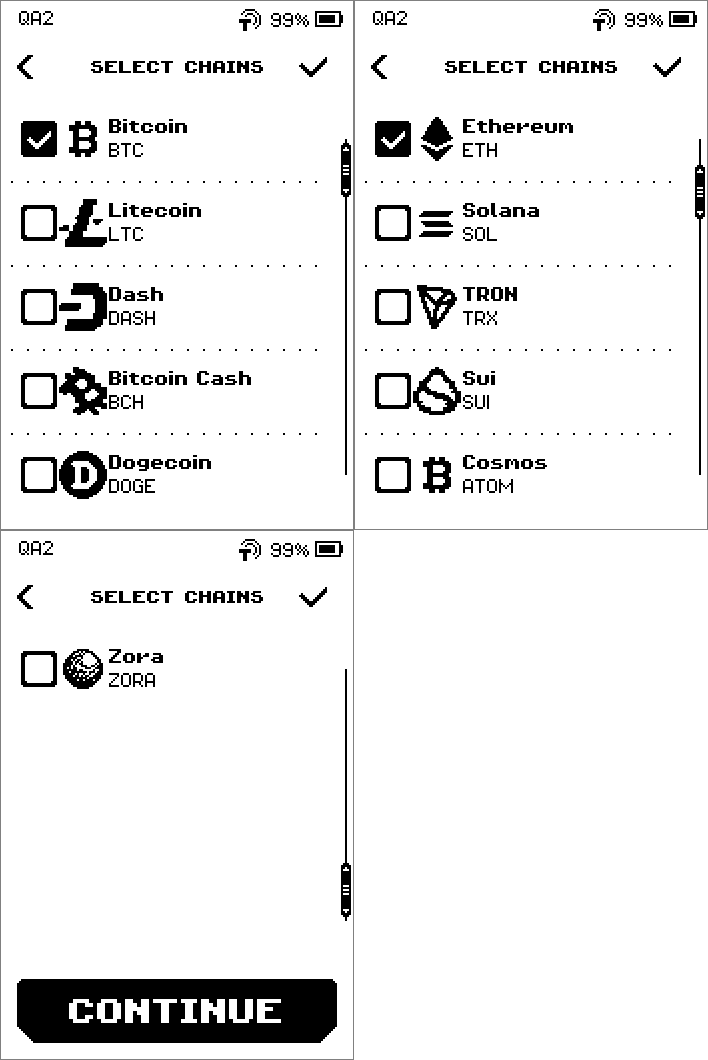
ERA: Select chains. On the last page, tap CONTINUE. The tick in the header does the same from any page.
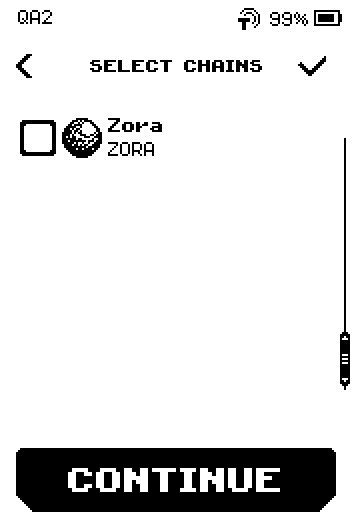
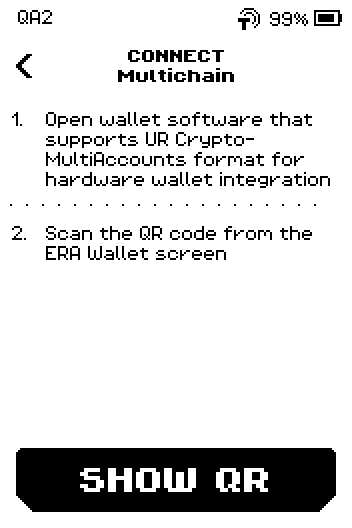
ERA: Select chains, last page. On CONNECT Multichain, tap SHOW QR. The screen says: "Open wallet software that supports UR Crypto-MultiAccounts format for hardware wallet integration. Scan the QR code from the ERA Wallet screen."
ERA: Connect Multichain. QR FOR LINK appears and keeps changing: the keys are split over several codes that loop. Leave it on screen.
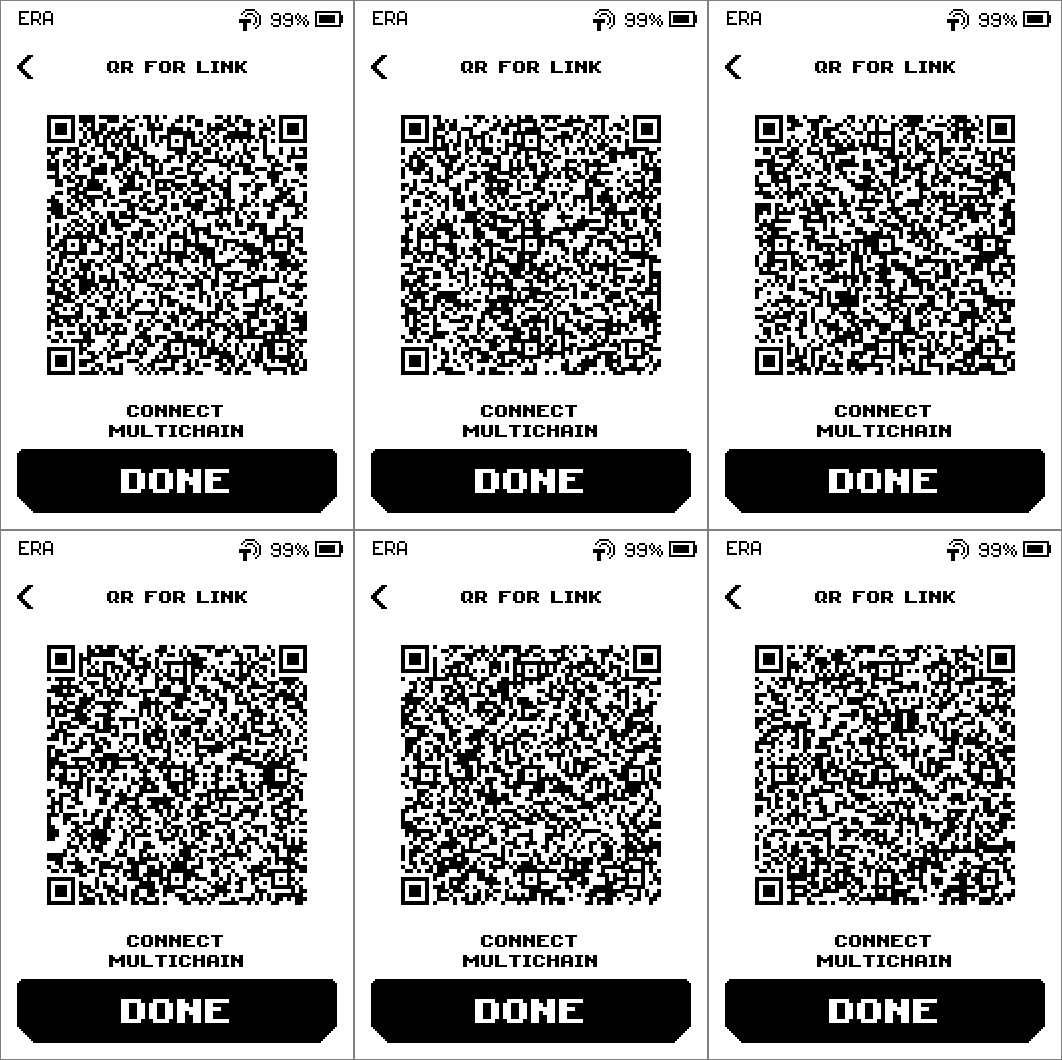
ERA: QR for link (animated).
Part 2: In the app
Open the app and start its "connect hardware wallet" or "import via QR" flow. Tap Keystone if the app asks which hardware wallet.
Image coming soon — Phone screen — the app's hardware-wallet import screen with the QR scanner openPhone: Scan hardware wallet QR.
Point the phone camera at the ERA screen and hold still until the app reports the import is complete. Scanning takes a few seconds because the code animates.
9:41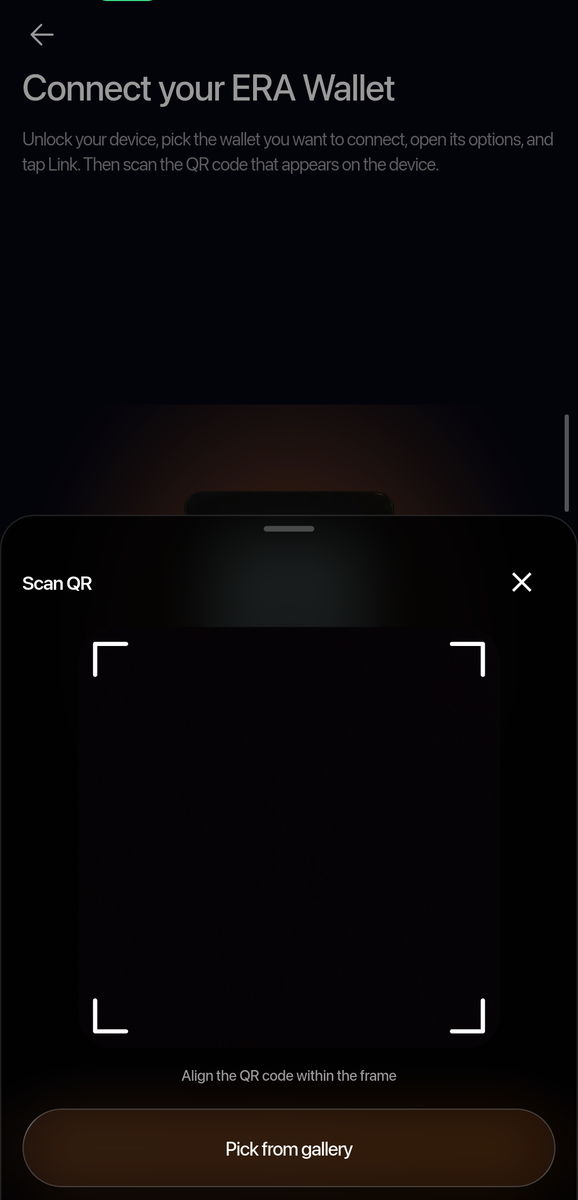
Phone: The app's Scan QR page; point the camera at the QR FOR LINK screen on the ERA. On the ERA, tap DONE. The device returns to the wallet SETTINGS.
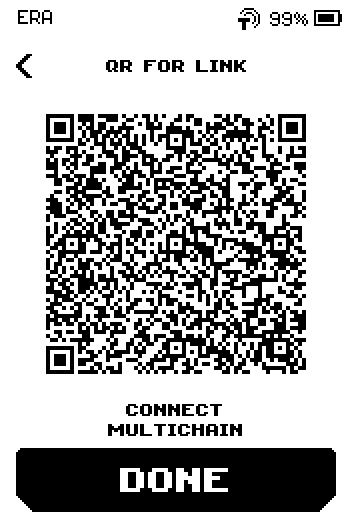
ERA: QR for link.
Done
The app shows the accounts for the networks you ticked, and the ERA is back on SETTINGS.
Trouble?
CONTINUE stays grey → no network is ticked yet. Tap at least one box.
The app rejects the code → it may not accept a multi-account QR. Try the app's own entry in the list, or Generic BTC / Generic ETH.
The app keeps scanning and never finishes → hold the phone still and let the animation loop twice. See Linking problems.