
Backups and recovery
Back up to an ERA Recovery Card
An ERA Recovery Card is an NFC card that stores your backup on a secure chip. You can write a card at any time from the wallet's settings, and as many cards as you like. The same screens appear when the device offers ERA BACKUP during wallet creation.
Before you start
Check the card for damage. The card must be blank, or you will be asked to overwrite it.
Pick a card PIN of 4 to 8 digits. It is separate from the device PIN and is needed to restore, read, change or erase the card.
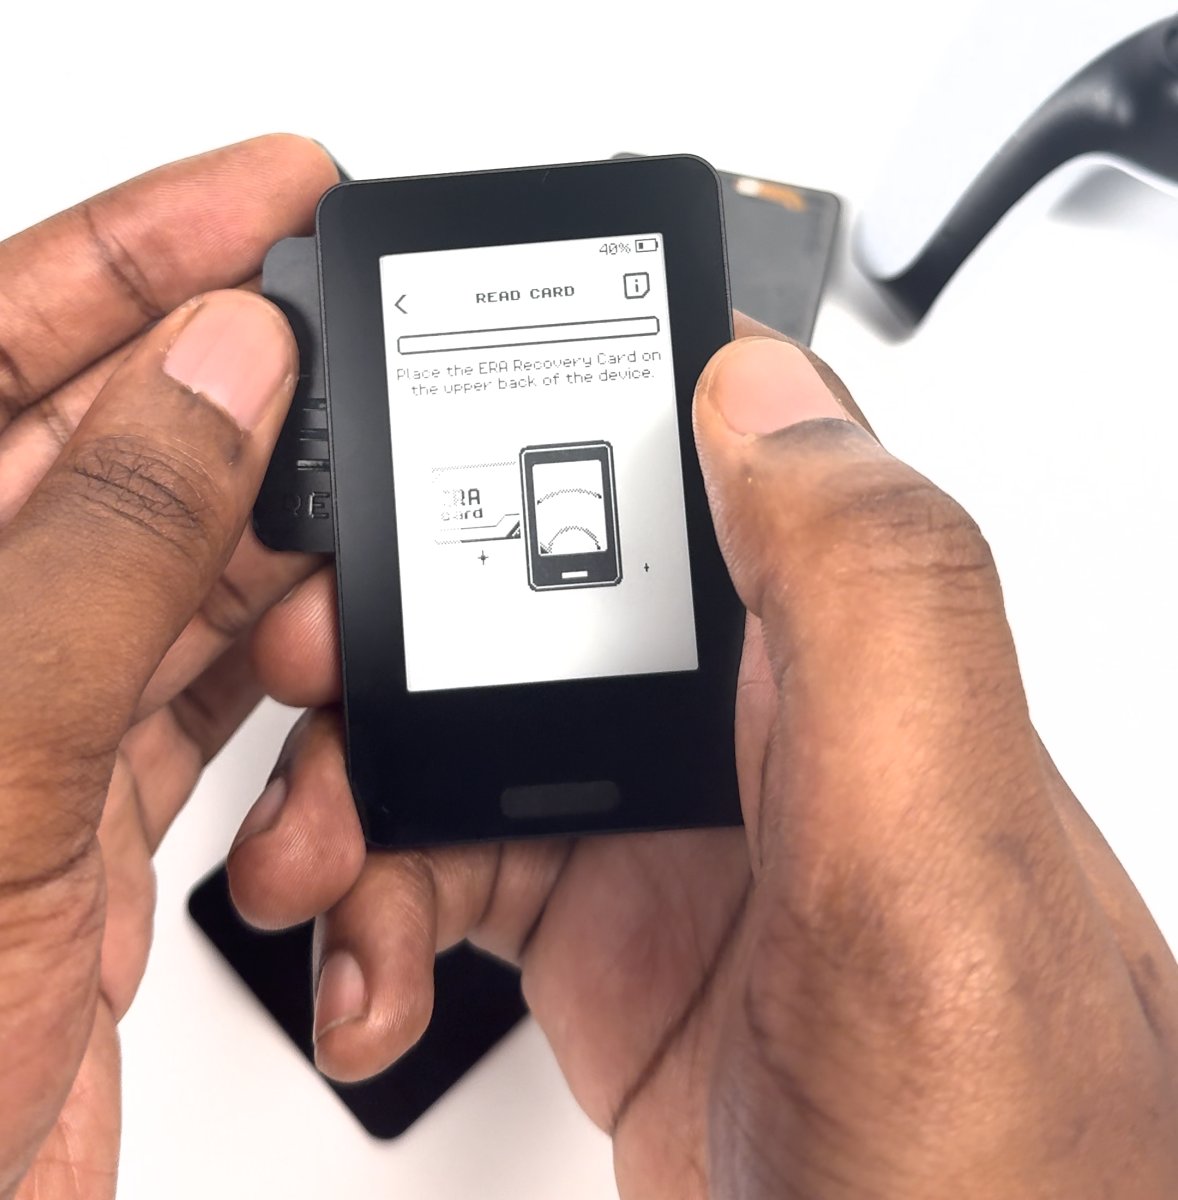
Photo: Hold the card flat against the upper back of the device — the NFC area is behind the top of the screen.
Part 1: Set the card PIN
Open the wallet and tap the sliders icon at the top of the screen.
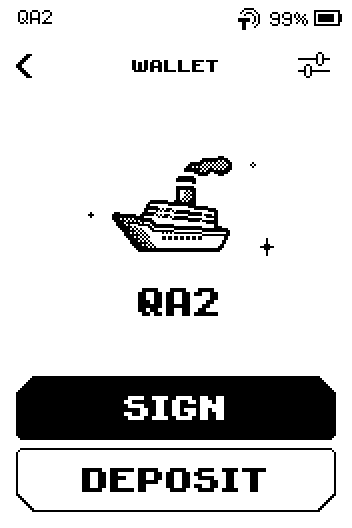
Wallet screen with SIGN and DEPOSIT buttons and the sliders icon at the top. Swipe up, then tap Backup.
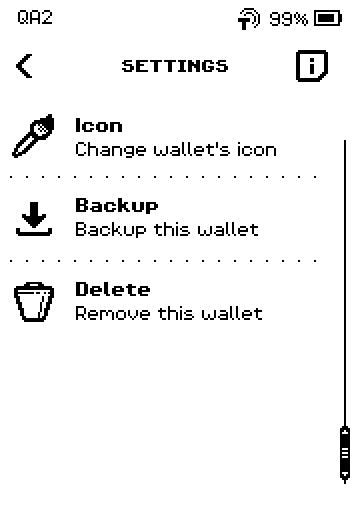
Wallet SETTINGS, second page: Icon, Backup, Delete. On ERA BACKUP, tap START. (i shows care advice for the card.)
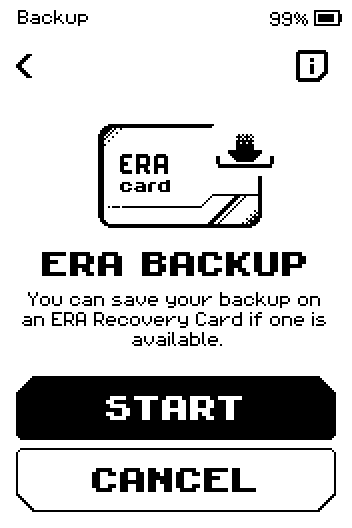
ERA BACKUP screen with START and CANCEL buttons and an i button in the header. On SET PIN, tap SET PIN.
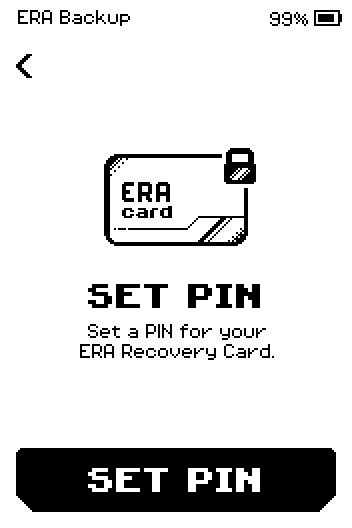
SET PIN screen: set a PIN for your ERA Recovery Card. Enter a card PIN of 4 to 8 digits, then tap OK.
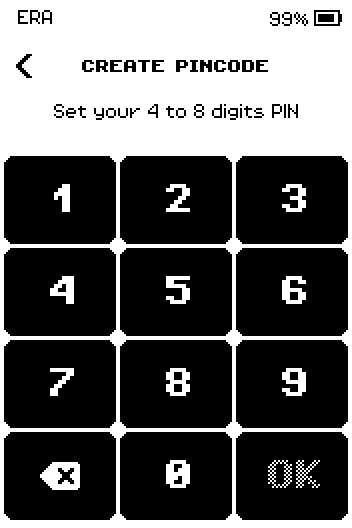
CREATE PINCODE keypad: set your 4 to 8 digits PIN. Enter the same PIN again, then tap OK.
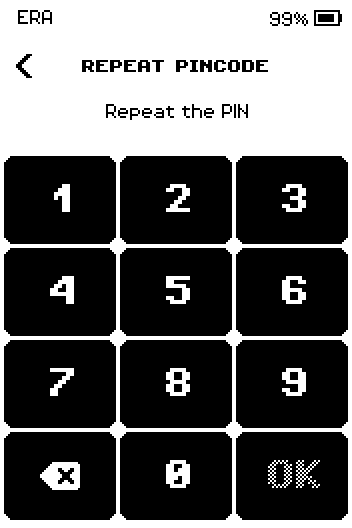
REPEAT PINCODE keypad.
Part 2: Write the card
Wait a few seconds while the device prepares the data (PLEASE WAIT).
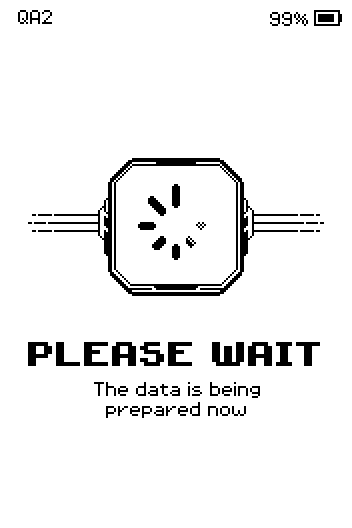
PLEASE WAIT screen: the data is being prepared now. Place the card on the upper back of the device and hold it still until the bar fills.
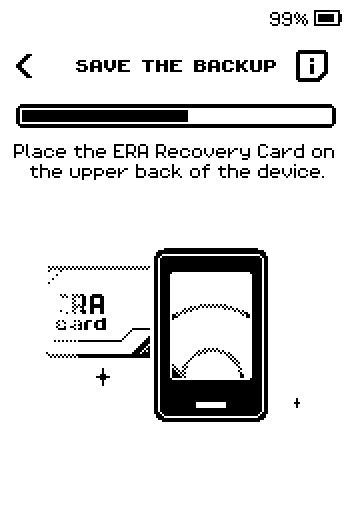
SAVE THE BACKUP screen: place the ERA Recovery Card on the upper back of the device, with a progress bar. On BACKUP SAVED!, tap DONE, or ONE MORE to write a second card.
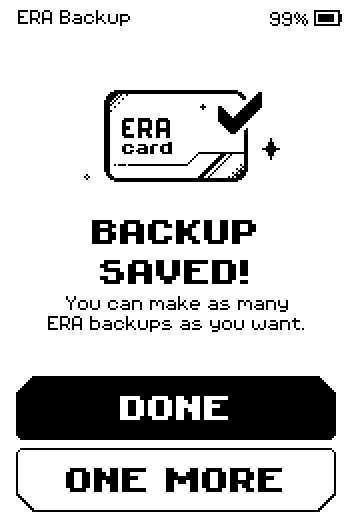
BACKUP SAVED! screen with DONE and ONE MORE buttons.
If the wallet has a Shamir backup (one card per share)
After Part 1, step 3, the device asks how to split the backup, then writes one card per share.
On MULTISHARE BACKUP, tap START.
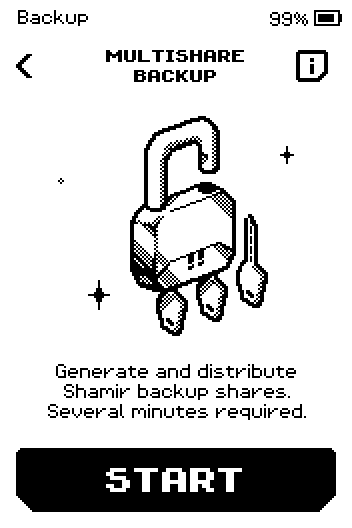
MULTISHARE BACKUP intro with a START button. Set the number of SHARES with the arrows, then tap NEXT.
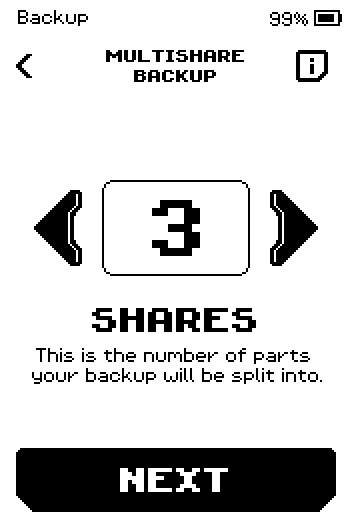
SHARES picker showing 3, with a NEXT button. Set the THRESHOLD (cards needed to restore), then tap NEXT.
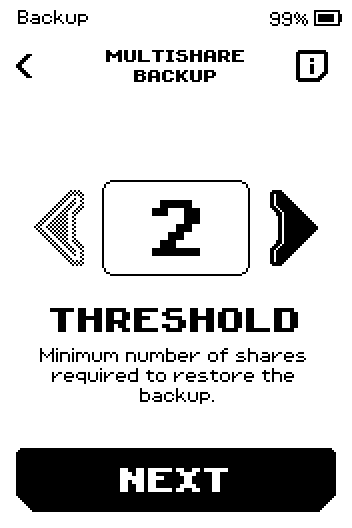
THRESHOLD picker showing 2, with a NEXT button. Set the card PIN as in Part 1, steps 4–6. All cards of the set get the same PIN.
On SHARE #1, tap NEXT, then place the first blank card on the device.
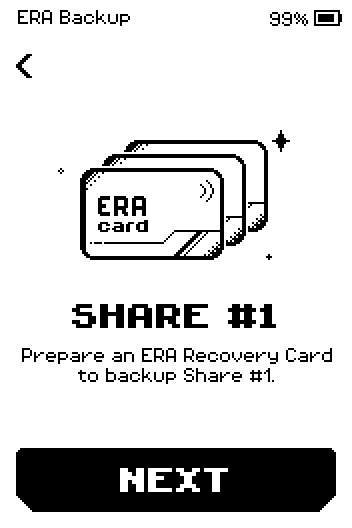
SHARE #1 screen: prepare an ERA Recovery Card to backup Share #1, with a NEXT button. On SHARE #2, tap NEXT and place the next blank card. Repeat for every share, then tap DONE.
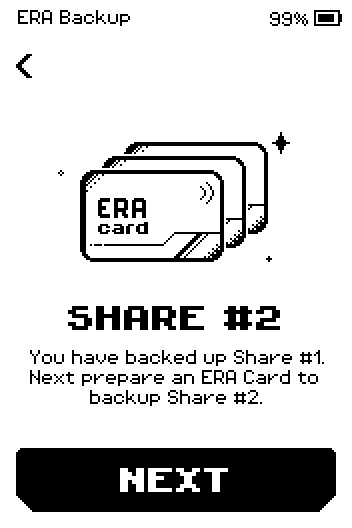
SHARE #2 screen: you have backed up Share #1, next prepare a card for Share #2.
Label each card with its share number. To restore you need any threshold number of cards, for example 2 of 3.
Done
BACKUP SAVED! was shown and you are back in the wallet. Keep the card away from the device and separate from the card PIN.
Trouble?
CARD NOT EMPTY → the card already holds a backup. Tap BACK and use a blank card, or OVERWRITE > ENTER PIN and enter that card's old PIN.
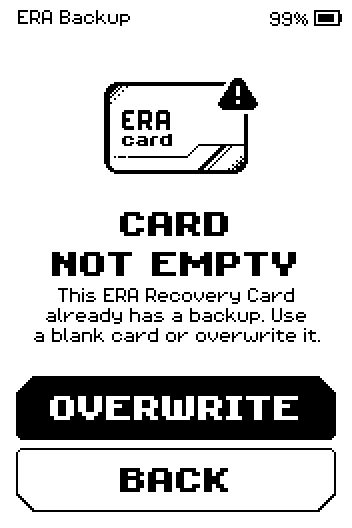
CARD NOT EMPTY screen with OVERWRITE and BACK buttons. INVALID PIN while overwriting → the old PIN is wrong; the screen shows how many attempts are left before the card is blocked (16 in total). Tap TRY AGAIN, or CANCEL and use a blank card. Source: Help Center
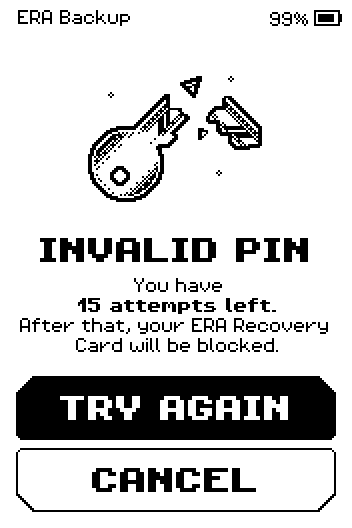
INVALID PIN screen showing 15 attempts left, with TRY AGAIN and CANCEL buttons. ERROR with Your ERA Card was not detected. Please, try again! → move the card over the upper back of the device and tap TRY AGAIN.
INVALID CARD with This is not an official ERA Recovery Card. Use an authentic card for backup. → use an authentic card.
MULTIPLE CARDS DETECTED with Tap only one card to the device → keep only one card near the device and tap TRY AGAIN.
Any other card screen, or the same one again and again → Fix an ERA Card error lists every one, with what to do.
Related
Fix an ERA Card error — every card error screen and how to get past it
Use the Recovery Manager — restore, read, clone or erase a card