
Signing transactions
Signing a transaction
ERA never touches the internet. Your software wallet builds the transaction, ERA LENS (the on-device decoder) turns it into readable fields — amount, recipient, fee, token names — for you to check, ERA signs it, and the software wallet sends it. Everything travels as QR codes.
Optional: Tap Sign over NFC (ERA Wallet app only) — with the ERA Wallet app you can skip the camera: lay the phone on ERA once to hand over the transaction, check and APPROVE it on the same ERA LENS pages, then lay the phone on ERA again to collect the signature. Every other software wallet uses the QR round trip described here. See Sign with Tap Sign over NFC.
Steps
Build the transaction in your software wallet as usual and choose to sign with ERA.
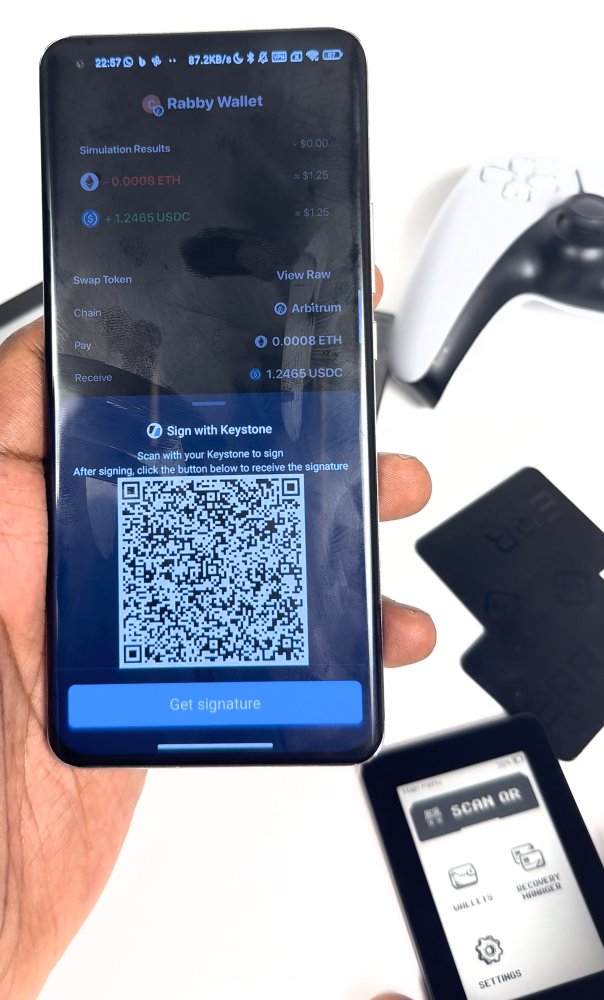
Phone: Rabby shows the request as an animated QR code to scan with the ERA. On ERA, start the scan in one of two places; both lead to the same review pages:
Fastest: SCAN QR on the Main menu. ERA reads the request, finds the wallet it belongs to among the wallets on the device and shows that wallet's name in the status bar of the review page. See SCAN QR: one button for everything.
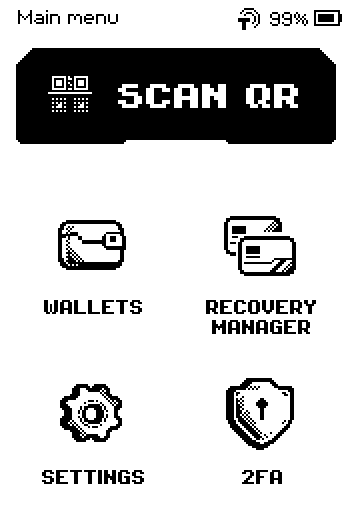
Main menu with the SCAN QR button Choose the wallet yourself: open the wallet and tap SIGN. Use this when you want a specific wallet to sign (for example a wallet with a wallet password, which SCAN QR never unlocks on its own), or when you are already on the wallet page.
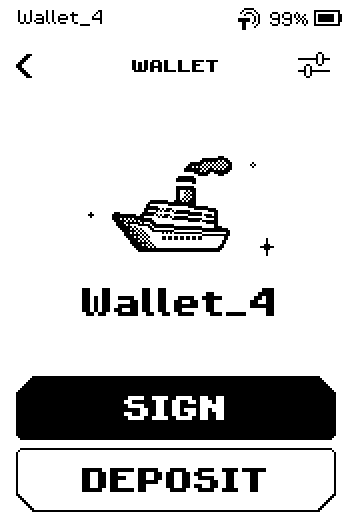
Wallet page with SIGN and DEPOSIT buttons
Point the ERA camera at the QR code on your phone. Keep the phone screen bright.
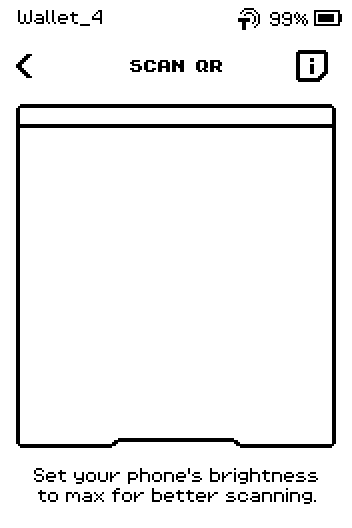
Scan QR page with the camera frame Optional: tap the i icon to read what the page expects.
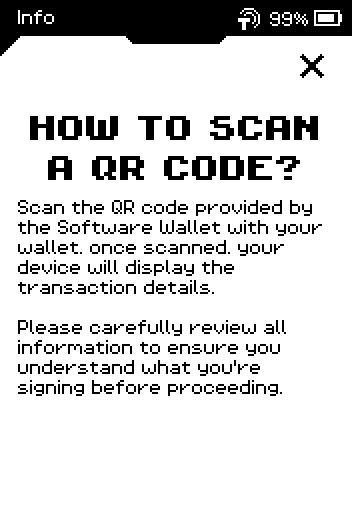
Info page: how to scan a QR code Read every field on the ERA LENS review pages. Swipe up to see the next page.
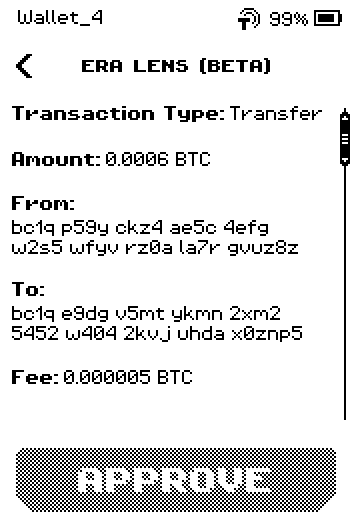
ERA LENS review page showing amount, from, to and fee The review opens in OVERVIEW: what the transaction does, and anything ERA marked. DETAILS, the other half of the strip under the header, adds the technical rows — nonces, limits, hashes. See Sign an Ethereum or token transaction for a worked example.
On the last page, tap APPROVE. The button is greyed out until you reach the last page — and switching between Overview and Details re-numbers the pages, so swipe to the end again after you switch.
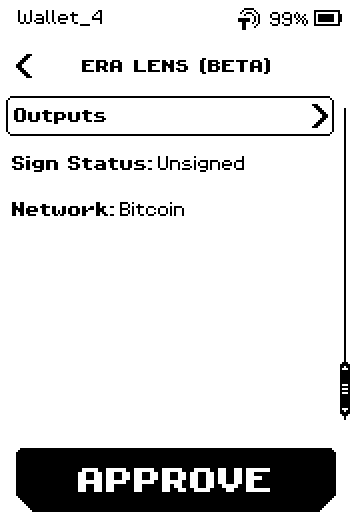
Last review page: Outputs row, Sign Status Unsigned, Network Bitcoin, APPROVE active Show the SCAN TO APPROVE QR code to your software wallet.
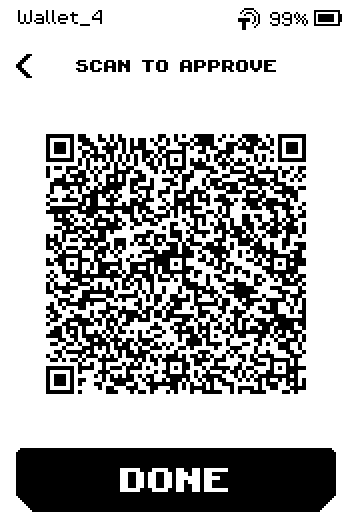
SCAN TO APPROVE page with the signed QR code In the software wallet, send (broadcast) the transaction.
9:41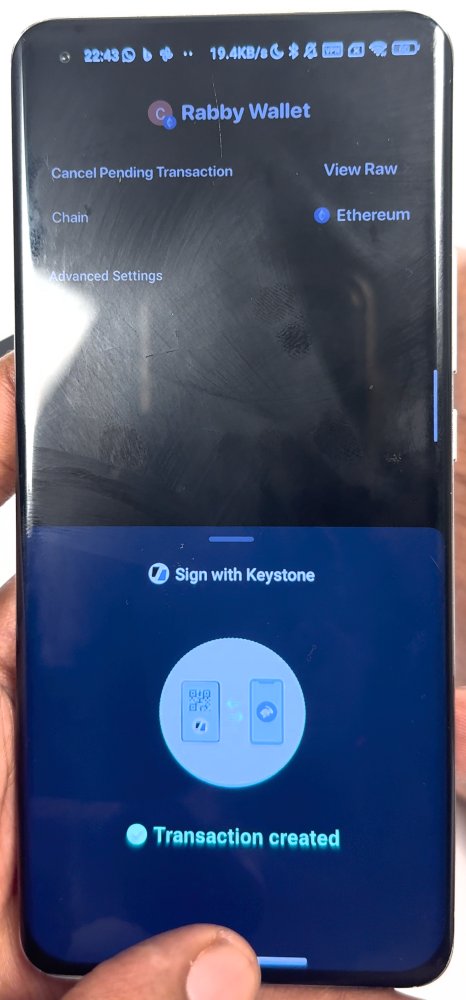
Phone: Rabby confirms "Transaction created" after scanning the ERA's QR code. On ERA, tap DONE.
Done
The SCAN TO APPROVE page closes when you tap DONE. Your software wallet shows the transaction as sent; ERA itself sends nothing.
Trouble?
The camera does not pick up the QR code → raise the phone brightness to maximum, hold the phone 10–15 cm from the camera and keep it still. Large transactions are shown as an animated series of QR codes; wait until the whole series has played.
"INVALID REQUEST" appears → the QR code is not a transaction for this device or wallet. See Warnings explained.
"FIND YOUR WALLET" appears (after SCAN QR) → the request belongs to a wallet ERA could not match, or to a wallet with a wallet password. Tap SELECT WALLET to pick one, or PASSPHRASE if that wallet uses a passphrase. See SCAN QR: one button for everything.
Software wallet does not accept the signed QR → the QR on ERA may be animated; keep the phone camera on the screen until the app reports it complete.